
This guide was created to help you decide when choosing what light bar to get for your ATV. Over the years, I’ve made both excellent and regrettable lightbar purchases for my power-sport machines. Hopefully, you will benefit from some of the lessons I have learned.
In recent years, the market for LED lights has exploded. Many of the products available look very similar, particularly in photos. Separating the good from the bad can be tricky for an untrained eye.
As long as you follow the steps in this post, I’m confident you’ll be much happier with your purchase than if you pick up a random light bar from the dealer.
1. Consider Your Riding Needs When Choosing a Light
What most people think of when they consider getting a light bar for their ATV is a 10-15 inches long row of powerful LEDs encapsulated in a robust billet outer casing. This is the type we’ll be focusing on in this guide.
Other similar types of lights go under the slightly diffuse term “light bar” as well. Maybe one of these will fit your needs just as well as a standard light bar:
- Micro-pod work lights: They can be a great supplement to the light bar.
- Powerful single-LED lamps: These are used to supplement the bike’s headlights or as spotlights.
- Flush-mount work lamps: Require that you cut a hole in the bodywork of the ATV.
- Amber light LED bars: Ideal for penetrating fog at night.
- LED whips: These are usually installed for optimal visibility when going off-road or dune riding in the dark.
You may not have just one specific kind of use in mind but want more light in general, and that’s fine as well.
While stock halogen headlights are decent for on-road use, they often fall short when used in the ATV’s natural environment, which is:
- Off-road riding
- Utility work both at the farm and in the forest
- Trail riding
- Mudding
- High-speed racing
These are all situations where you can never get too much light—knowing your primary usage will make it easier to pick the right bar for your needs.
2. Ensure the Light is Road-Legal
Before you go any further in your purchase process, it may be worth looking into whether or not any laws or regulations tell what type of light you are allowed to install.
My ATV is legal for on-road use, but I cannot use an LED light bar while riding on roads. To be somewhat legal where I ride, I need to wire it to be turned off entirely when riding on the public highway.
Other laws may apply where you live. You should be fine if you don’t ride on public roads.
3. Find a Suitable Spot to Install the Light
To ensure you select the appropriate size and shape of a light bar, decide on the installation location for the new light bar on the quad before examining specific models.
The spot you choose should ideally be relatively high at the front of the bike so the light beam won’t be affected by grass, brush, or deep snow.
If you mount the bar too low, the light won’t spread as well, and you increase the risk of damaging it. Simultaneously, the spot you choose should ideally be somewhere the bar is protected from impact or from being ripped off by a stiff branch.
Many brush guards are made specifically with light bars in mind and have a well-protected mounting spot where the bar can be installed.
This will be my recommended mounting spot in most cases. So if your bike has a bull guard, it will be an excellent place to start looking.

But if your bike does not have a brush guard, now could be an excellent time to consider getting one, depending on your budget.
Another option is to clamp the light bar to the ATV’s front rack if it has one. You should find brackets and mounts that fit almost any bike. This will lift the light even higher but leave it less protected.
It’s also a matter of aesthetics. If you’re looking to keep the stock look of your bike, installing a big fat lightbar on top of the front fenders may not be on top of your list.
A third option is getting a custom grill or making a cutout in your OEM grill to fit a light. This option may restrict the airflow to the radiator, making the bike and the light bar slightly hotter. However, in most cases, these options should cause no issues.
For optimal results, securing the light to metal is advisable rather than solely relying on plastic fenders for mounting.
Bolting the light directly to plastic may cause the light to shake and flicker when riding on uneven surfaces. It should, therefore, be avoided.
Most led bars come with a set of mounting brackets included. These are universal and may not fit directly into any good location on the bike.
It’s worth doing a Google search on “led bar mount” + your bike’s make and model to see what’s available. Often, you’ll find extension brackets that are made to be installed on a sturdy spot on the front of your bike and allow you to install almost any light bar to the ATV.
When you’ve decided where to mount the light, take note of what mounting bracket you will need to fit your chosen spot.
4. Determine the Available Space
To ensure you don’t get a light that’s too big for your mounting spot or that will look entirely out of proportion, you should find a tape measure and note how much room you have to work with.
Measure available width (LED light length), depth, and height.

This is especially important if you install the bar inside your brush guard or grill. You need a light that is about one inch smaller than the space you have available. This will make installation easier and will allow proper cooling.
Visualize how different sizes of light will look when fitted to the bike. You can get light bars from 6 to over 50 inches, but bigger is not always better. A bar that is too big will not look good.
5. Features to Look For in a Good ATV Light Bar
To choose the best light bar for your needs, you must know what features matter and what’s less important.
Power Draw (Wattage)
ATVs have limited available power. Adding power-hungry accessories puts extra strain on the vehicle’s charging system and battery.
Luckily, LED lights do not require much power at all. The wattage should be listed in the product’s spec sheet and tell how much power the light bar needs to operate.
Unless you choose a 50″ monster meant for cars, you should be hard-pressed to find a light bar that eats a noticeable chunk of the available power.
To be safe, consult your owner’s manual to verify that the bike’s charging system delivers more power than the light bar uses. But as long as your system works properly, you will likely have no issues.
Those who find out they have chosen a bar that’s a bit too powerful can compensate by replacing the stock headlights with LED. This should “save you” about 100 watts of capacity.
The charging system, however, only supplies the light with power when the engine is running.
If you use your light often when the bike is not running, the power must come off the battery instead. Choosing a light with less wattage will allow you to use it longer without draining the battery.
In this article, I explore the most common causes if your battery keeps draining on your ATV.
If you choose between two lights with the same brightness, you should opt for the one with the lowest wattage. This light is the most effective, usually due to better LEDs.
The critical point is that you should not solely prioritize the power draw when deciding which light bar to choose.
Voltage
Most ATVs run on 12V. Most LED lights are made to operate at both 12V and 24V. Ensure you don’t get a 24V-only LED light for your 12V bike, as this will not work.
An LED running on a lower voltage than it is made for will not even glow like a traditional light bulb. It will simply not ignite at all.
Related: ATV Battery Voltage: 9 Most Important Things to Know
Weight
Most light bars are made from aluminum and won’t add significant weight to the bike. Even the heaviest bars are manageable, so weight should not be a deciding factor unless you are into serious quad racing.
Form Factor
Lightbars are available in various shapes, with straight and curved being the most common. Additionally, smaller square or round lights, categorized as work lights rather than light bars, are also available. While primarily intended for other purposes, they can still be a viable option for some ATV owners.
A curved bar will spread the light more to the sides and is ideal for off-road applications. But these tend to cost more than the straight bars. A cheaper option is to look for a light that focuses on effective deflectors to achieve the same effect.
Life Expectancy
LED lights last a long time – usually so long that other factors than reaching the end of their rated lifespan put them down.
A lifespan in the 50,000-hour range is typical, but be aware that some of the cheaper models out there can’t always back up their claims of forever-lasting lights.
Heatsinks for Cooling
Excess heat will severely impact the lifespan of any LED. So look for a light that has proper cooling with some beefy cooling fins in the back.

This will quickly dispose of the heat created by the LEDs and their circuit boards, keeping operating temperatures low and life expectancy high.
Also, look for a model with a metal core PCB, which will help keep the light’s electronics cool.
Without proper cooling, the created heat will build up with nowhere to go. And why is this bad? Well, except for smashing the light to pieces with a rock, heat is the main factor that affects the light’s lifespan negatively.
A light with insufficient cooling may only last half as long as it would with proper cooling.
Brightness in Lumens
To tell how bright the light bar is, the manufacturers use a unit called “Lumens.” The unit is used to measure light intensity.
With traditional light bulbs, it’s common to use watts to tell how bright the light is.
But because LED lights come in a wide range of colors, using lumens to tell how bright it is is much more accurate than how many watts it uses.
LED lights exhibit greater variation in effectiveness compared to standard light bulbs. Consequently, two lights with the same wattage can differ significantly in brightness due to their varying efficiency in watt utilization.
So more lumens indicate a brighter light. You can get ATV-size light bars in the 1000 to 3000 actual lumens range.
Just be aware that many manufacturers, especially among the cheaper models, claim a lumen value much higher than actual values with the hope of selling more lights.
A poorly made LED may give the promised brightness at first when you turn it on, but it will quickly fade noticeably when left on for just some seconds.
To be a bit more specific, a light’s brightness is not necessarily proportional to its number of lumens.
This is because brightness is used to tell how bright your eyes perceive the light, which will depend on many factors, like the light color, while lumens are measured with an instrument.
Some manufacturers will list “raw lumens,” which needs to be multiplied by about 0,8 to find actual “effective lumens.”
LED Quality and Effectiveness
A LED is not just a LED. There are pretty significant differences in quality out there that you need to be aware of.
The more expensive light will often stand out by being made with more effective LEDs than the cheaper ones. A more effective LED will produce more lumens per watt you feed it, which is good.
The lower-quality LEDs used in cheaper lights must be pushed much harder to give the same brightness. This means they will draw more watts, making them run a lot hotter.
So by choosing a super cheap light, you may experience that it burns out in months, not years, as you might expect.
To be on the safe side, you can look for lights that use LEDs made by a reputable manufacturer. Both Epistle and Cree are known for their high quality, with the highest output per watt.

The remarkable effectiveness of LED lighting sets it apart from traditional light bulbs. While the “glow” bulb will use much of the power to create heat, an LED will use most of it to make light.
To illustrate how effective LEDs are, a standard 40-watt light bulb will give about 450 lumens. A good quality LED will produce 2000 lumens or more, using the same amount of watts.
No wonder they’ve revolutionized the lighting market completely.
Durability and Rugged Construction
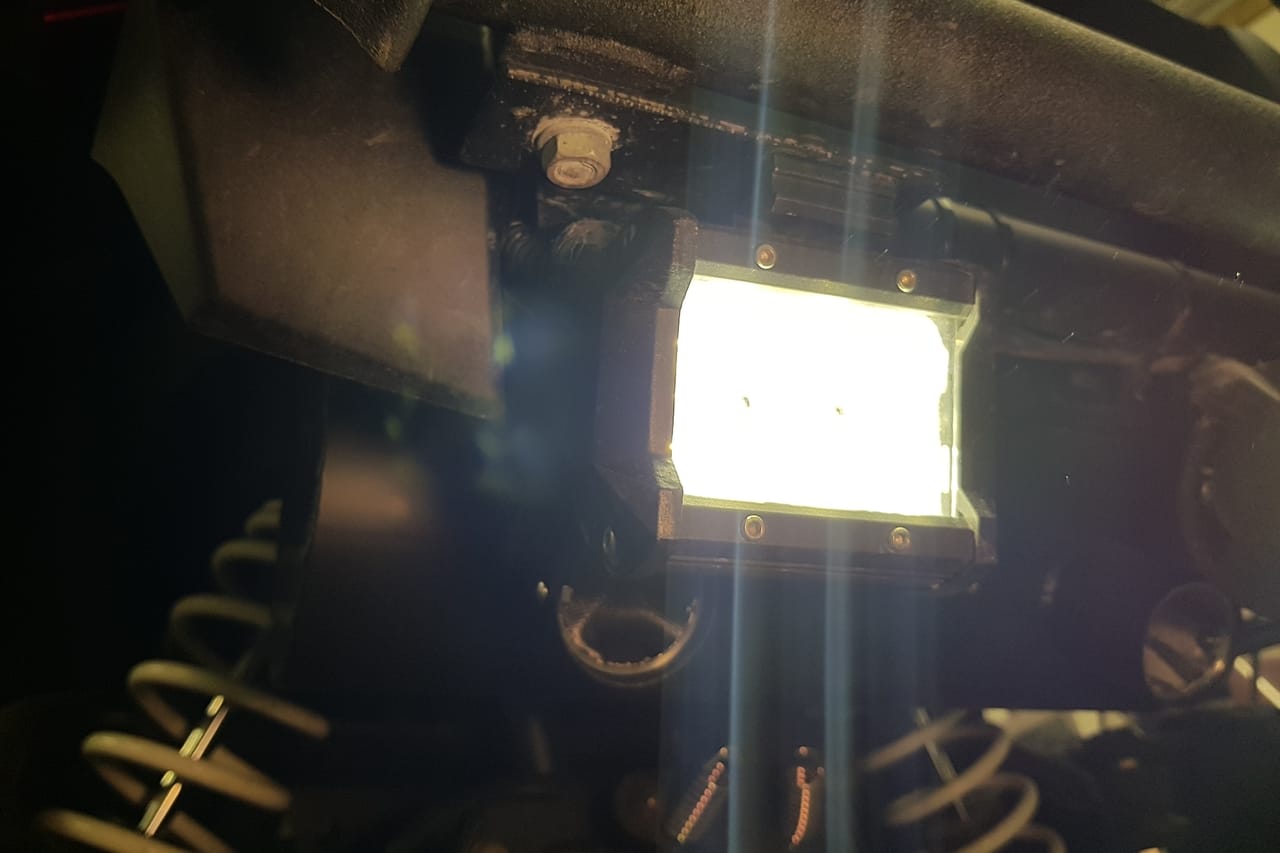
This one is essential. LEDs are fragile and need excellent protection from the elements.
An LED bar intended for on-road use will not hold up long when put through some of the abuse it will face on an ATV.
Not only does the casing need to be waterproof, but it also needs to keep mud, dust, and debris from getting inside the light.
The light’s IP rating indicates how good the housing is at keeping the elements out.
It will have two numbers: the first tells how dust-resistant the light is, and the second describes how waterproof it is. A higher number is better.
Shoot for a light with an IP rating of 67 or better. This means it can handle almost anything thrown at it when fitted to an ATV, including being completely submerged in 1m deep mud or water.
If you involuntarily turn your quad into a submarine, this article will tell you how to repair it and get it running again.
And don’t forget the wiring connectors. These should also be waterproof to prevent corrosion issues down the road. Look for a beefy connector with a good-quality silicone or rubber gasket.
The casing needs to be made from an impact-resistant material that won’t crack when smashing into trees and whatnot. Housings made of extruded aluminum are more rigid than cast ones.
Ensure the glass covering the lenses is shockproof and scratchproof and handles extreme hot and cold temperatures.
And everything needs to be corrosion-proof.
You will often find they’ve cut costs on cheaper lights using flimsy mounting hardware that will rust. Avoid these unless you don’t want the bike to look ten years older in just a few months.
The mound needs to be rigid and adjustable to fit different mounting situations.
Light Color (Color Temperature)
To describe what color output you can expect from the light, the manufacturers use “color temperature,” measured in Kelvin.
This can be confusing because an LED light with a higher color temperature does not necessarily run hotter than one with a lower temperature.
The Kelvin scale indicates in what color a specific metal glows when heated to different temperatures.
LED lighting emits a red or yellow glow at low temperatures, while at higher temperatures, it appears white, bordering on blue.
LED lights are usually in the 2700K – 6500K range.
2700K – 3000K: By choosing a light in the 2700K – 3000K range, the light will have a yellow/white, almost warm color.
3000K to 5000K: When in the 3000K – 5000K range, the light is a bit brighter yellow, almost entirely white, and from
5000K – 6500K: The light will be cool white, almost like daylight.
Lightbars at the higher end of the scale appear brighter but will not render colors as good as the lights in the middle of the scale. Because of this, a bright white/blue light may increase eye fatigue.
At the lower scale, you find the warmer yellow lights that are comfortable for the eyes but will give an unrealistic representation of the scenery.
A good compromise is choosing a light with about 5000K. This will be plenty bright but still render the colors of your surroundings naturally. For riding in the snow, a more yellow light will better show the contours of the terrain and is preferred by many for this reason.
If you still cannot decide what color you prefer, some manufacturers even offer different color lens covers to fit any riding situation.
Beam Pattern – Spot or Flood Light
Lightbars come with different beam patterns intended for different types of use. You can get spotlights, floodlights, or bars that feature a combination of these two.
The spotlight has the most narrow beam and will throw the light the farthest. The light will spread at an angle of about 30 degrees in the direction it is being pointed. This type is great for riding at higher speeds, whether down the highway or in racing.
Then you have the floodlight. This kind creates the wides beam, which will spread at an angle of about 60 degrees. The extra width comes at the expense of how far the light goes.
It is excellent for utility work or riding at lower speeds, like technically challenging off-road riding.
Some individuals consider neither spot nor floodlight ideal for trail riding and other off-road activities at medium speeds. This is where combo lights prove advantageous, providing adequate floodlights for low-speed riding and longer-reaching beams for higher speeds.

Light bars shorter than 20″ in length typically come in either spot or flood configurations, though a combination of the two is becoming more prevalent even for shorter bars.
Choosing a floodlight beam pattern will suit most ATV owners. In most countries, you cannot legally use the light bar on public roads, regardless.
Most riders need better proximity lighting when performing technical riding at lower speeds or any utility work in the dark.
Racers or those that only use their bike for trail riding may be the exception.
Warranty and After-Sales Support
What warranty and support a manufacturer will give you will indicate how confident they are in their product’s longevity. Steer clear of the ones that don’t mention what warranty they provide or if they have a warranty that will be voided for silly reasons.
Company Reliability
It may be a good idea to stick to the more trusted brands in a market overflooded by different brands claiming the best products.
You may miss out on a potentially fantastic newcomer by doing so, but you have a better guarantee of making a good purchase.
You also want to ensure the dealer you buy from has a good reputation. It’s often when things break you learn how service-oriented the company really is.
I recommend a quick Google search on brand name and dealer to reveal potential horror stories.
This is a power you, as a customer, have. Do not be afraid to use it!
6. Decide Your Budget Range
Before heading to your local dealer or browsing for specific models online, it’s a good idea to consider your budget.
For those with unlimited funds, It’s with light bars, as with most other things: you often get what you pay for.
But for most buyers, it’s all about finding the ideal balance between cost and quality, giving you the best bang for the buck deal.
The types of light available on the market range from the super cheap Chinese knock-offs to “military-grade” bulletproof bars that cost an arm and a leg.
Even the cheapest models will work, at least for a while, before they fail due to internal corrosion. But as a general rule, the farther up you go in price, the higher quality light you get.
7. Plan the Wiring
The light bar alone is insufficient to get your light up and running. You will also need wires, connectors, switches, and relays.
Some manufacturers include this stuff in the package, but not all.
If you plan the wiring layout before installation, you can make sure you get all the components you need so you have them ready when it’s time to install the light.
Trust me; this saves a lot of frustration through the installation process.
8. Pick 3 to 5 Candidates
Now that you know what to look for, pick 3-5 candidates that match your criteria.
Durability and actual lumens should be your top priority. Ensure that the ones you pick have the desired color temperature and fit where you plan to install the light.
Any of these will likely be fine, but if you want to be entirely sure, move on to the next step.
9. Read a Few Reviews
Before making your final decision, I recommend you read a few reviews or forum threads about each candidate. Combined with a manufacturer warranty, this will ensure you’re getting the most out of your money.
Ensure the review discusses things like ease of installation and use, as this is hard to tell simply by looking at the spec sheets. Also, take note of any information about common mishaps or malfunctions.
Also, compare the models you have chosen by looking at the above factors and decide what fits your needs the best.
10. Make Your Decision
Now you should be armed with all the knowledge you need to choose a light bar for your ATV that best fits your needs!
Related Questions
What size light bar should you get for an ATV?
ATV light bar sizes range from 7 to 20 inches, where 12 inches is the most common. Available space and looks are often determining factors as to what size to choose.
Best cheap LED light bar
You can get ATV light bars for as cheap as 10 dollars for those with a tight budget. But you generally get what you pay for, so it may be worth steering clear of the most affordable options.