Is your ATV battery not charging, whether during a ride or even when using an external battery charger? Or perhaps it appears to be charging but fails to hold a charge?
There are a few things you should look into before spending money on a new battery or other parts. You can fix the issue without spending one dollar if you’re lucky.
Before you begin troubleshooting, reading this post on how an ATV charges its battery may be a good idea.
Today’s post will cover these three different scenarios:
- The battery is not charging when it is installed on the bike.
- The battery will not take charge, even when using an external charger.
- The battery seems to be charging fine but will not hold a charge over time.
Let’s dive into the actual troubleshooting.
Defective Charging System or Bad Battery?
It’s a good idea to start your troubleshooting by identifying whether your ATV has a faulty charging system or if the problem is with the battery itself.
The easiest way is to charge the battery with an external charger.
- If the battery charges fine when using a charger and holds its charge when sitting a few days under no load, you know the problem is with the ATV, not the battery.
- If it does not charge or hold a charge when sitting disconnected, you know that the problem is with the battery.
Even if you’re experiencing issues with a brand-new battery, I suggest you follow these steps, as even new batteries can be damaged.
How to Charge the Battery With a Charger
I recommend using a good quality fully automatic battery tender (or a so-called smart charger) to keep your ATV battery in good shape when the bike is not in use or whenever it needs to be topped off.
Smart chargers have the advantage of automatically shutting off when the battery is full or if there is a short or another issue inside the battery.
I’ve been using Ctec chargers with great success for many years. The Ctec XS 0.8 is a reasonably priced, high-quality charger that fits well for most ATV batteries.
- Put the key in the “Off” position.”
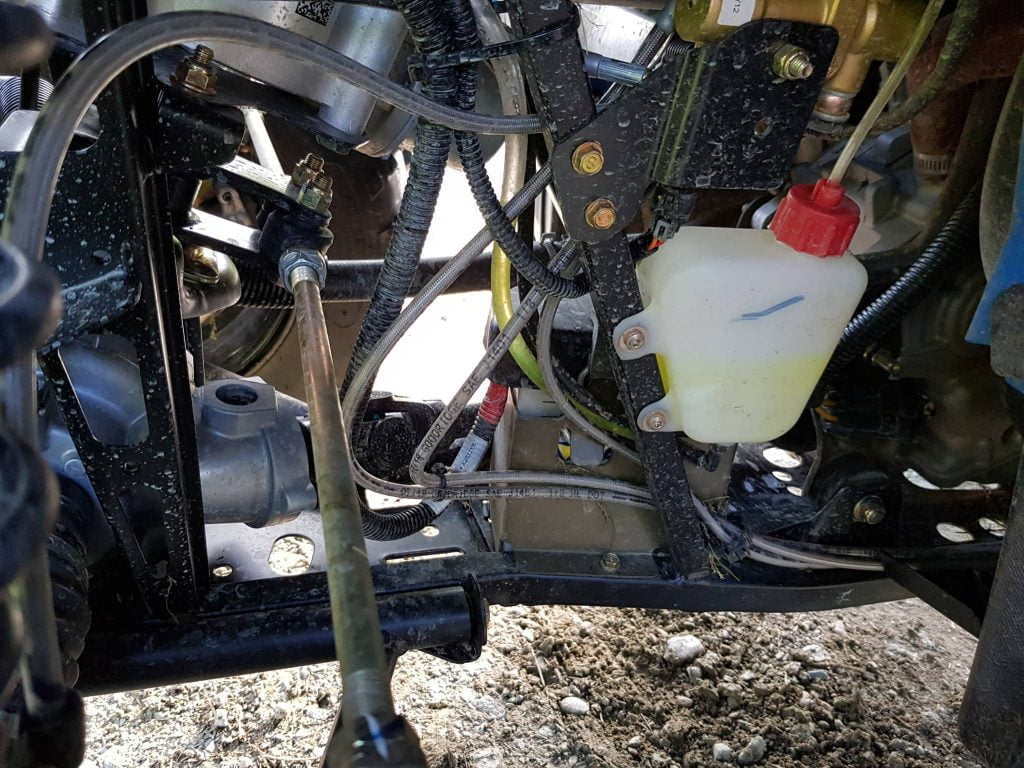
- Locate your battery. It’s often located behind a plastic panel up high at the front of the ATV. But it may also be found in less ideal places, like on this Polaris Sportsman 570, where the battery sits exposed on the bottom of the frame. On some ATVs, it may even be at the bike’s rear.
- Disconnect the battery terminals so you know nothing is drawing power from the battery.
- Preferably remove the battery from the bike. There is always a small risk that something goes wrong when you charge a battery. If it were to start leaking or, in the worst case, blow up, at least you won’t damage the ATV.
- Connect a suitable battery charger and let it charge overnight — red cable to the positive terminal, black cable to the negative terminal, or ground.
Related: How to Charge Any ATV or UTV Battery – All You Must Know
Read the Battery Voltage
When the charging cycle is complete, it’s time to read the battery’s voltage. To do this, you will need a basic multimeter.
You can get them cheap at your local auto parts store if you don’t have one. Even the cheapest ones will work. Every home mechanic should have one, and I promise you will find plenty of uses for it as soon as you learn how to use it.
- Set the multimeter to read DC voltage. The black cable should be in the COM port, and the red cable should be in the V DC port. Turn the dial to 20V DC. This setup works for voltage readings below 20 volts.
- Put the test pin of the black cable to the negative lead on the battery. It should have a black protective cover and be labeled “-.”
- Put the test pin on the red cable to the battery’s positive lead. It should have a red protective cover and be labeled “+.”
- You should now read the voltage in the multimeter display.
- If the battery is healthy, you should be able to charge it to hold at least 12.4V (about 75% charged). If you can’t reach 12.4V, the battery is not taking charge properly.
- Then let the battery sit for a day or two and reread the voltage. If the voltage has dropped well below 12.4V, you know that the battery is not holding a charge and that there likely is an issue with the battery.
Now you should know whether you have an issue with the battery or if the problem is with the bike’s charging system.
Reasons the Battery Won’t Charge With a Battery Charger
Here are the most common causes when the battery won’t charge, even when using an external battery charger:
1. Old or Defective Battery
No battery lasts forever, and at some point, all batteries will stop working. If you take proper care of the battery, it should last for many years, but you can ruin it in months or even days if you misuse it.
If you cannot charge the battery above 12.4V, there is a good chance the battery has gone bad from misuse or old age.
There may be a bad cell with an internal short that prevents the battery from taking a proper charge.
A better way of testing the battery is performing a so-called “Load test.” This simple test measures the battery’s charge under heavy load. You’ll find instructions on how to do this test in this post about what to do when a battery keeps draining for no apparent reason.
Related: How to Test an ATV or UTV Battery. Good, Reduced, or Bad?
2. Low Battery Fluid Levels
Acid lead batteries need a specific fluid level to take and hold a charge. The electrolytes should fully cover the plates inside the battery.
If your battery is the Lead-Acid type and has covers meant to be opened, you can follow these simple steps to inspect and top off a battery that is low on battery acid.
Warning 1: Do not open a battery that is not designed to be opened. If fluid levels run low on a battery like this, there is nothing you can do but replace it with a new one.
Warning 2: Battery acid is highly corrosive and will cause permanent damage if it gets in contact with your skin or eyes. Use proper eye protection and rubber gloves.
- Use a rag and some ammonia-based window cleaner to clean the top of the battery. You do not want debris falling into the battery when opening it. Let it dry completely before moving to the next step.
- Use a screwdriver to pry open the caps or unscrew them if they are threaded.
Grab a flashlight and inspect each cell. The fluid should cover the plates inside the battery, and the fluid level should be about the same in each cell. - Top off any cells that are low on fluid. Use distilled water or store-bought battery water. Fill until you reach the maximum safe level when the fluid barely touches the bottom of the filler tubes.
- Reinstall all of the caps.
- Check for leaks. If the fluid levels were low in one or more cells, there might be a crack in the battery housing. If so, the battery needs to be replaced with a new one.
- Attach a charger and check if it holds a charge now.
Reasons the ATV Won’t Charge the Battery
In this scenario, the battery will charge when you hook up an external charger, but it will not charge from running the ATV.
There are a few common causes you need to address.
1. Charging System Not Working: Bad Stator
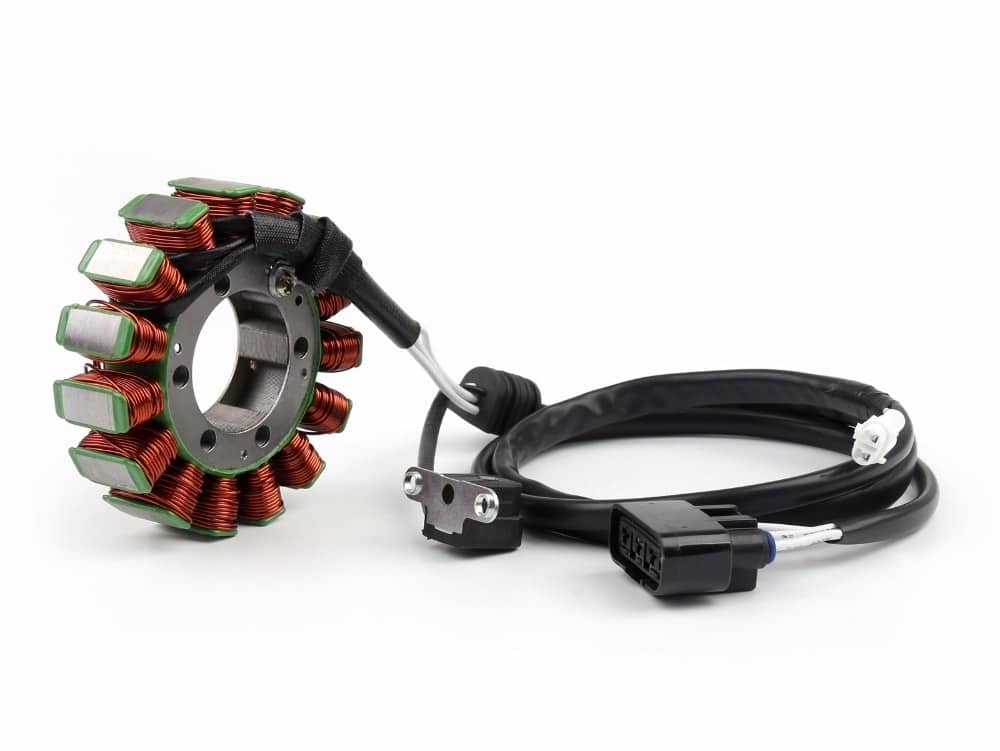
The charging system on an ATV is quite simple but nowhere near as efficient as the one you will find on a car. It uses a stator that produces a current inside of the engine when the engine is running. The output power from a stator is much less than what you get with an alternator used on cars.
The current then runs through a voltage regulator/rectifier that converts the current from three-phase AC to DC voltage and regulates the output current to 14V – 14.5V. This current charges the battery and powers the vehicle’s electric components.
Even when the system works as intended, it may sometimes struggle to keep up and charge the battery fully. This happens when you combine a low-output charging system you find on ATVs using power-hungry accessories like a winch or heated grips.
Related: ATV Winch Draining the Battery – What Is Normal and Not?
You can test the stator using a multimeter to measure resistance; this post describes the steps.
Alternatively, you can measure what voltage output you get from the stator. This method is less accurate but will give you a good indication of whether the stator is working correctly.
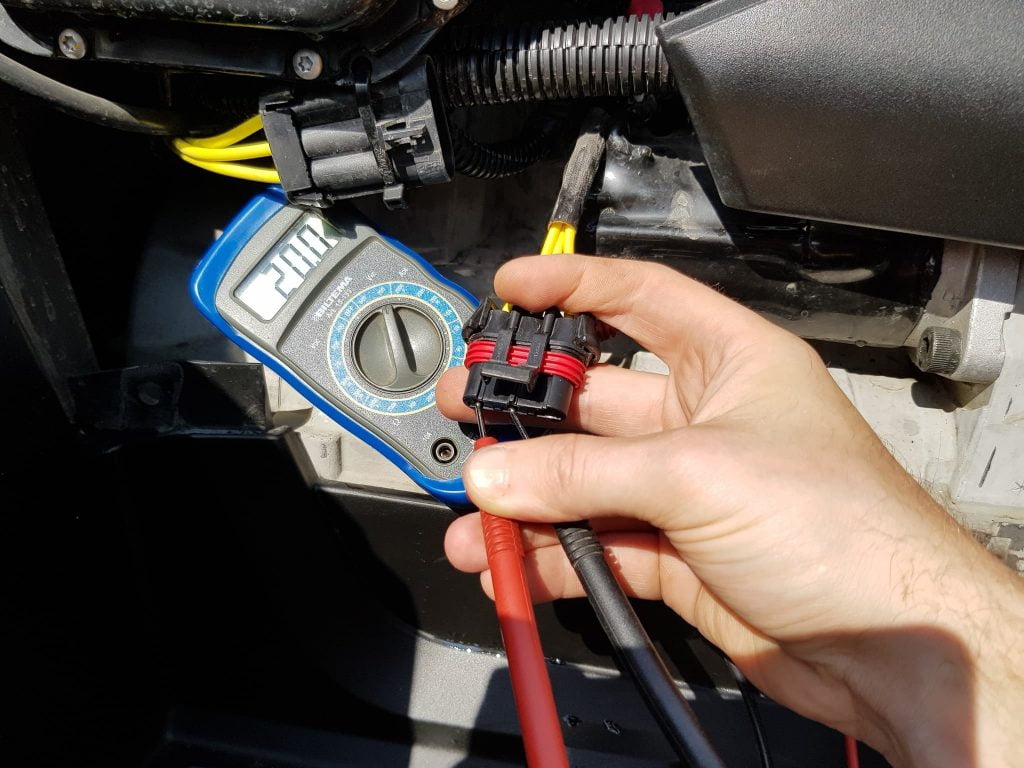
When revving, the output voltage on a working ATV stator should be about 20V AC at idle to 40V AC or more.
- Unplug the three cable connector that goes from the stator.
- Set the multimeter to read AC voltage.
- Start the bike while in “park.”
- Insert the multimeter probes into the pins on the stator side of the connector. You will be combining all three pins as described below so that you can test all three phases.
- Positive tester probe to pin 1 and negative tester probe to pin 2.
- Positive tester probe to pin 1 and negative tester probe to pin 3.
- Positive tester probe to pin 2 and negative tester probe to pin 3.
If any of the three phases did not put out 20V – 40V or more, the stator is likely not working correctly and must be replaced.
2. Charging System Not Working: Bad Voltage Regulator
If the stator checks out fine when doing the tests above, it’s time to see if the voltage regulator works as it should.
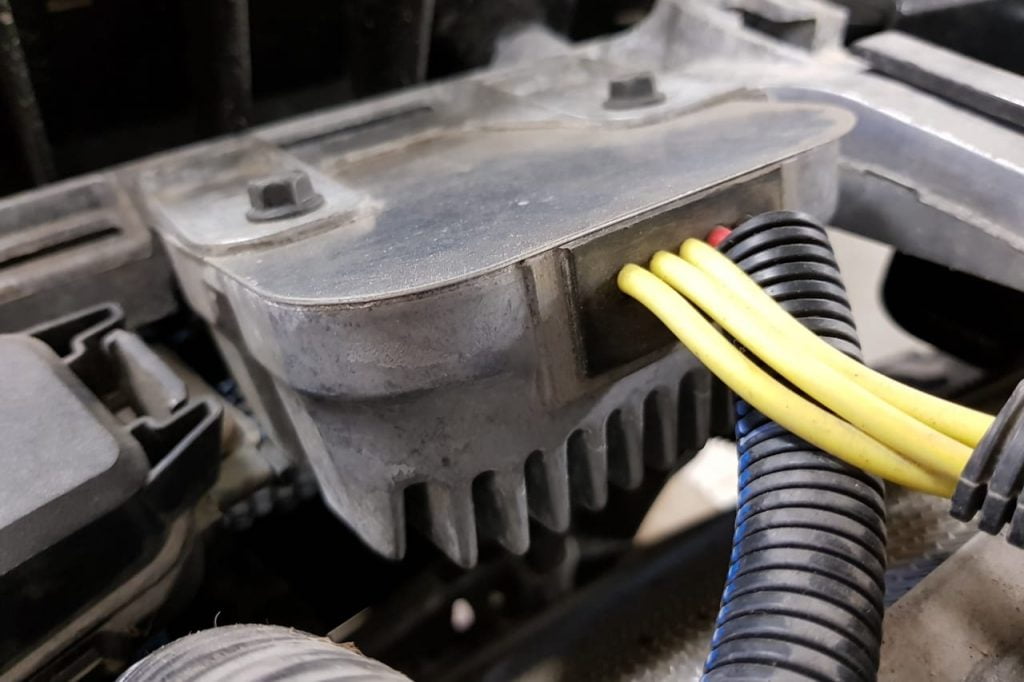
- Locate the voltage regulator. Follow the three cables coming out from the stator. They should end up in a small aluminum box, usually (or ideally) located somewhere high on the bike where it won’t become soaked whenever riding in mud or water.
- With everything plugged back in, start the engine.
- Use the multimeter to check the voltage that comes out of the regulator. There should be one red and one black cable. If no connectors are readily available, press the test pins’ point through the cable insulation to reach the cable wires inside.
- The voltage output should be stable at 14V – 14.5V. If the voltage reading you get is far off, the regulator is likely bad and needs replacing.
- Alternatively, the voltage may be jumping between 10V – 14.5V. This is also not good and usually means that the regulator has gone bad and needs to be replaced.
3. Loose or Corroded Wiring
ATVs are often used in wet conditions or bumpy off-road riding. This leaves the wiring particularly exposed to corrosion or coming loose.
A corroded or loose connection will prevent the battery from being correctly charged.
Disconnect the battery connectors and clean them with sandpaper before installing them again. The ground wire is particularly prone to corrosion.
Do the same with any exposed connectors in the wiring connecting the stator and the battery.
Reasons the Battery Won’t Hold a Charge
In this final scenario, we will cover what may be wrong when the battery seems to be charging fine but then loses its charge after just a day or two, even when disconnected from the bike.
If you suspect that something other than the battery itself is causing it to drain, please refer to this post for proper troubleshooting for a battery that keeps going dead.
1. Low Fluid Levels
Even if the battery seems to be charging fine, there is a chance that fluid levels are low. Ensure all levels are correct as described above, and recharge the battery to see if that helps.
2. Sulfated Battery
Sulfation is a naturally occurring chemical reaction happening inside the battery when it’s being discharged. Usually, the process gets reversed when the battery is charged again.
However, the sulfation becomes permanent under certain circumstances and damages the battery.
This may happen when:
- The battery acid level inside of the battery has been low for too long, leaving the plates exposed to air.
- Completely discharging the battery – just a few days may be enough to inflict permanent damage.
- The battery has been sitting for a long time with only a partial charge, either on the bike or in storage.
A sulfated battery loses much of its capacity and behaves like a smaller one. When you try to charge it, the charger will indicate that it is fully charged after a short time. But the voltage will drop quickly as soon as you disconnect the charger.
In some cases, it is possible to salvage a sulfated battery. But in most cases, the damage is beyond repair, and the battery needs replacing.
Try slow charging (trickle charging) the battery using a low amp charger for 24h or more. Sometimes, this may bring a dead battery back to life.
There are also chemical treatments available that may help you recondition a sulfated battery. But because ATV batteries are relatively cheap, I recommend getting a new battery instead of spending time and money on a repair that may or may not be successful.
Wrapping Up
To sum up, problems with your ATV battery charging or holding a charge can be due to various issues, including a defective charging system, a damaged battery, low fluid levels, or corrosion.
Use a multimeter to examine the battery and charging system and inspect the battery fluid levels.
Before rushing to purchase a new battery or parts, try the troubleshooting steps outlined in this guide – they could save you both time and money.


