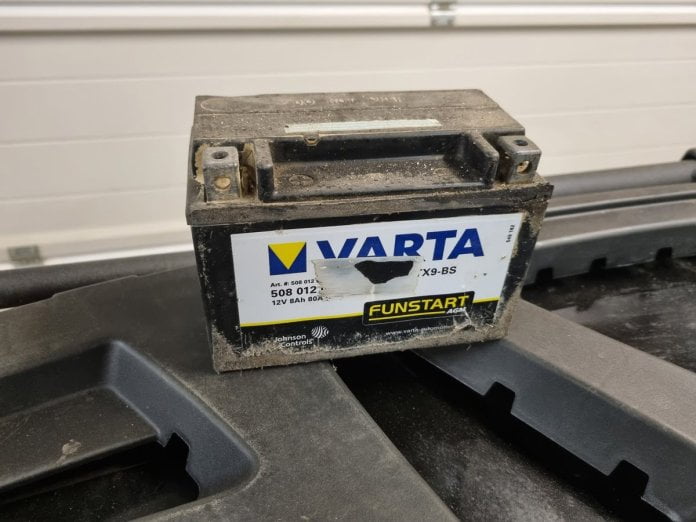
Although some ATV batteries are labeled ‘maintenance-free,’ this term can be misleading. It’s important to understand that even these batteries need regular care.
While you won’t have to check or replenish the electrolyte fluid in certain types of batteries, there are still essential maintenance tasks to ensure your battery’s longevity and performance. These include:
- Checking the battery’s state of charge (SOC)
- Maintenance charging
- Battery terminal and connector maintenance
- Battery casing visual inspection
- Proper battery storage
- Conventional batteries with removable filler caps only: Monitoring and filing liquid electrolytes (distilled water or battery acid).
This guide explains these steps to help you ensure optimum battery performance and long service life.
Safety First
While an ATV battery may seem harmless, it can cause severe injury or death if not handled with the proper precautions and safety practices.
Note: A battery has the same, if not higher, potential to cause harm as a gallon of fuel. Please act accordingly.
Potential hazards include explosion, electric shock, and highly corrosive battery acid injury.
Always apply these safety guidelines when working with a battery.
- Avoid smoking, sparks, or open flames near an ATV battery. The reason is simple yet critical: batteries can emit highly flammable gases during charging or discharging. Even a tiny spark from static electricity can ignite these gases. If this happens, it could lead to the battery case rupturing or even exploding.
- Always wear protective eyewear, gloves, and clothing.
- Remove metallic jewelry to prevent electric shock and burns from shorts.
- Avoid shortening the positive battery terminal to exposed metal parts or the negative battery terminal when working with tools.
- Charge the battery in a well-ventilated area to vent any explosive gasses from the charging process.
- When charging the battery, always read and apply the safety precautions specific to your battery type, as described in the charger user manual.
How to Properly Maintain an ATV Battery
The proper maintenance schedule for your ATV battery depends on your battery type.
I made this chart to give you an overview and better see the difference between the different types:

Continue reading to learn the different steps of proper ATV battery maintenance.
Maintenance Charging
The most important aspect of proper battery maintenance for conventional flooded lead-acid batteries (FLA) and absorbed glass mat batteries (AGM) is not to let them sit discharged for long periods.
Allowing these battery types to sit at a partial state of charge (SOC) causes internal sulfation that hurts battery performance and service life.
CAUTION: Never charge an FLA battery with electrolyte levels below the minimum mark.
GEL-cell batteries, on the other hand, are not as prone to sulfation and can better handle more extended periods at a partial state of charge.
Lithium Ion (Li-Ion) batteries use an entirely different technology and are not negatively affected by sitting at a partial charge. In fact, a li-Ion battery performs best when it spends its life in a partial state of charge; 80 to 90% is ideal.
I recommend checking out this guide to learn how to charge your battery correctly.
How Often Do You Need to Charge the Battery?
How often to charge the battery depends on the battery type, temperature, and how many power-hungry accessories you use.
How much you ride, allowing the ATV’s built-in charging system time to bring the battery up to a full charge, also plays a significant role.
- If you do a lot of heavy winching, you might need to charge the battery daily.
- If the battery is not used, you may need to recharge the battery every other week or month, depending on the battery type. Different battery types self-discharge at different rates, so some can sit longer without a recharge.
What determines whether or not a battery needs a charge is its state of charge (SOC).
To determine the battery’s SOC, you must know its type and read its voltage. The table below gives you an indication of whether your battery needs a charge.

I recommend investing in a quality smart charger designed for small power sports batteries to save you from the hassle of reading the battery voltage.
When you know you’ve been putting a lot of strain on the battery lately or notice the starter turns slower than usual, you might as well hook up the charger for a few hours as you return home from riding.
The main benefit of having a smart charger is the ability to quickly begin charging without worrying about the battery’s state of charge or how long you should charge it to reach a full charge.
Just connect the charger, turn it on according to the instructions that came with it, and leave it connected until the display tells you the battery is full.
You don’t have to worry about turning off the charger in time, as it automatically terminates the charging process when the battery is full.
However, if you have a manual charger, you need to check the battery’s state of charge and estimate the charge time before you hook up the charger.
To prevent overcharging, monitor the charging process closely and ensure you turn off the charger when the battery is full.
Maintaining Electrolyte Levels
Out of the four ATV battery types, only conventional lead-acid batteries with removable filler caps must have the electrolyte levels monitored and serviced.
As a conventional battery is charged or discharged, water molecules in the electrolyte split and evaporate. This process is normal and characteristic of all flooded lead-acid batteries.
As a result of the water evaporating, distilled water has to be added regularly to keep the electrolyte level within acceptable levels.
When the electrolyte drops too low, it exposes the lead plates to oxygen, causing rapid battery sulfation, which causes permanent damage to the battery.
That is why ensuring the electrolyte level is always between the minimum and maximum mark is essential to battery maintenance in a conventional FLA battery.
In AGM batteries, the electrolyte level does typically not drop from evaporation, and the addition of water is never required.
AGM batteries are filled with a predetermined amount of electrolyte from the factory or by the user when activated and sealed permanently.
CAUTION: Never try to open a sealed battery!
GEL and Li-Ion batteries also use a permanently sealed construction and should never be opened.
This is how you add water to a serviceable lead acid battery:
- Remember to wear gloves, protective eyewear, and suitable clothing to cover your skin.
- Carefully remove the filler caps. The caps are usually removed by hand, but you may use pliers if they are too tight. Be careful not to use excessive force.
- Inspect the electrolyte level. The fluid should be between the max and min mark, covering the top of the battery plates inside the battery. Use a flashlight to get a better look. The electrolyte fluid should be colorless.
- If fluid levels are low, carefully add distilled water through a small funnel until reaching the correct level.
- Reinstall the filler caps and finger-tighten them only.
Battery Terminal Maintenance

Ensuring the battery terminals are clean and tight is essential for a good battery connection.
- Ensure the wire connectors are appropriately secured to the terminals. Tighten if necceccary. Also, ensure the battery casing is correctly attached to the ATV and unable to move.
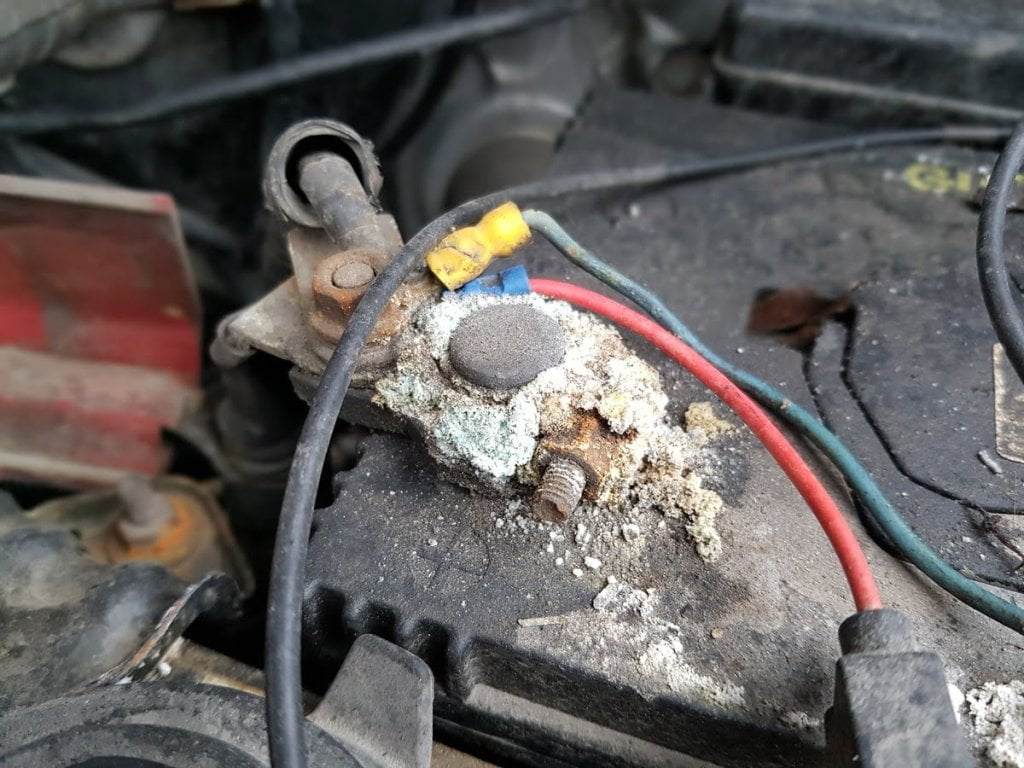
- Visually inspect the terminals for signs of corrosion. Corrosion builds up over time due to environmental factors.
- If the terminals seem overly corroded, they need to be cleaned.
- Disconnect the connectors from the battery terminal and secure them from shorting out.
- Dissolve baking soda in hot water and use an abrasive rubbing pad to rub the corrosion off the terminals and connectors. While cleaning the terminals, wear rubber gloves and eye protection.
- Apply battery terminal grease to prevent further corrosion.
- Tighten the connectors snugly, but do not overtighten.
Battery Casing Visual Inspection
The battery casing is durable but not immune to damage from impacts, abrasion, or freezing electrolytes.
At least once a year or if you suspect damage, it is a good idea to remove the battery and visually inspect it for damages like
- Cracks or leaks in the battery casing.
- Bumps or bulges in the battery casing.
- Loose or broken battery terminals.
- Melted or burnt plastic near the terminals.
- Discoloration from the electrolyte-turning brow.
Never charge, use, or attempt to repair a battery displaying visual defects, as listed above. A damaged battery should always be replaced.
Maintenance During Storage
When storing a battery for extended periods, typically over the winter, you must ensure it doesn’t sulfate or become damaged from freezing. The trick to prevent both is ensuring the battery is adequately charged.
Sulfation is a build-up of crystals on the lead plates and takes place if the battery sits at a discharged state or when electrolyte levels are too low, exposing the lead plates to oxygen.
Battery acid freezes more quickly when it is not fully charged, and the specific gravity of the electrolyte drops. The electrolyte freezing can cause permanent damage to the battery.
Here is a table indicating how much a battery’s charge level impacts its freezing point.
State of Charge | Electrolyte Specific Gravity | Freezing Point |
100% | 1.265 | -75ºF (-60ºC) |
75% | 1.225 | -35ºF (-37ºC) |
50% | 1.200 | -17ºF (-27ºC) |
25% | 1.150 | +5ºF (-15ºC) |
0% | 1.100 | -18ºF (-7ºC) |
Drained | 1.050 | +27ºF (-3ºC) |
Freezing is typically not a problem when the battery is fully charged.
So before putting your ATV battery in storage, I recommend going through this quick little checklist:
- For conventional batteries, ensure correct electrolyte levels before storage.
- Always charge the battery before storage.
- Apply a maintenance charge at recommended intervals or keep a charger with a maintenance mode (trickle charger) connected to ensure the battery doesn’t lose its charge.
- If the ATV has a battery disconnect switch, turn it off to reduce the chance of parasitic drain discharging the battery.
- If the ATV doesn’t have a battery disconnect switch, consider removing the battery and storing it separately from the ATV.
Related Questions
What to Do if Your ATV Battery Is Not Holding a Charge?
If your conventional ATV battery fails to hold a charge, check if it’s low on electrolyte. Also, assess if the battery has excessive sulfation.
Sulfation occurs when lead sulfate crystals build up and can prevent the battery from charging correctly. In cases where sulfation is not too advanced, you might be able to rejuvenate the battery using a charger equipped with a ‘Restore’ mode.”
How Does Maintenance Affect Battery Life?
Proper maintenance is detrimental to the battery’s performance and service life. Neglecting battery maintenance can sometimes reduce the battery’s life expectancy to a year or less.
How Do You Know When It Is Time to Replace the Battery?
An ATV battery can last 3-5 years or more when appropriately maintained, but eventually, you must replace it with a new one.
Replace your ATV battery when:
- It has visible signs of damage or leaks.
- It is no longer holding a charge.
- It no longer takes a charge.
This is how to know if your ATV battery is still good or has gone bad.
