Various less-known Chinese ATV brands offer budget-friendly alternatives for parents who want their children to get into ATV riding.
Whether it’s your first time starting your brand new ATV or you’ve bought one used and can’t get it to start, here is a step-by-step guide on how to get the bike running.
Related: Chinese ATV Won’t Start – Troubleshooting Guide
Chinese ATV Starting Procedure
The starting procedure outlined in this guide applies to most budget-friendly Chinese ATVs. While your specific model might differ, the fundamental steps are generally the same.
1. Activate the Parking Brake

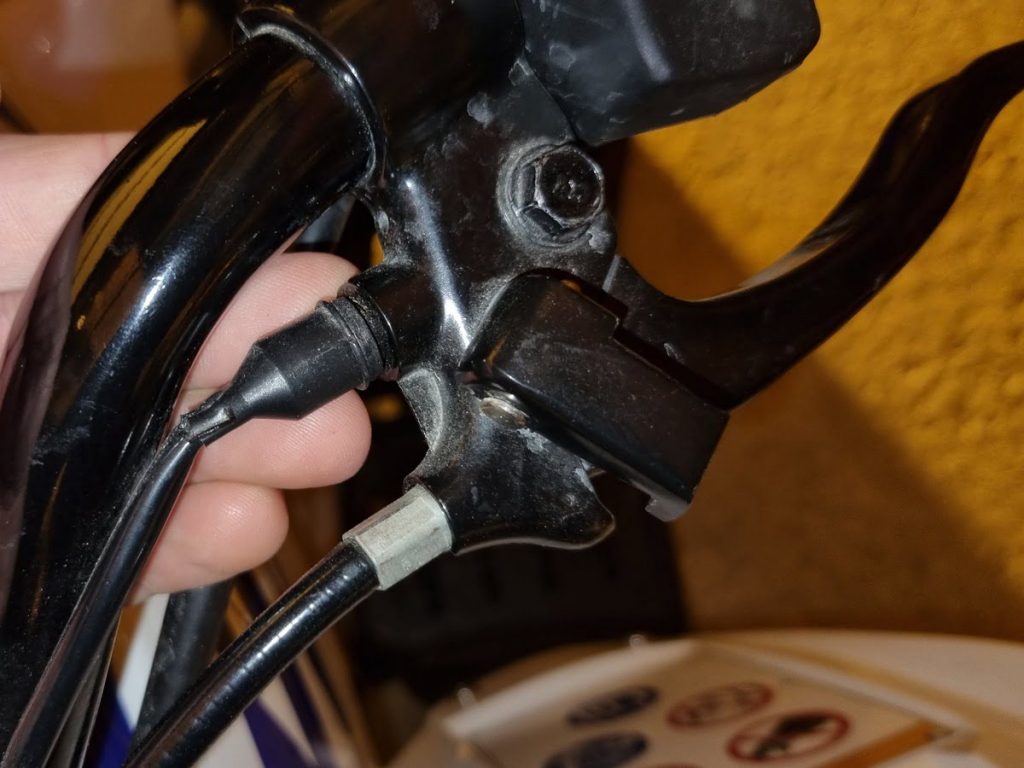
Most ATVs have a starter interlock feature integrated into the brake lever that prevents the starter from engaging if the brakes are not engaged.
You have two options for engaging the brakes: either hold the brake lever down by hand or use the parking brake lock mechanism.
If you try starting the ATV without activating the brakes, the starter will not activate, acting as if it’s completely dead.
2. Turn the Fuel Valve Lever in the “On” Position

The fuel valve, also known as the petcock valve, is typically located on the bottom of the fuel tank, usually on the left-hand side of the ATV.
On some models, the fuel valve is located directly on the carburetor.
The fuel valve has three positions, “ON,” “RES,” and “OFF.”
ON: When the fuel lever is in this position, fuel flows from the fuel tank to the carburetor. ON is the normal riding position.
RES: This position is for running out of fuel while riding. Turn the lever to this position to access the last fuel in the fuel tank. Refuel as soon as you can.
OFF: When the fuel lever is in this position, the fuel is cut off and can’t flow from the fuel tank to the carburetor. Use this position when the engine is not running for extended periods.
Note: The purpose of the fuel shutoff valve is to prevent gas from leaking when the ATV is left sitting for long periods. It is usually optional to turn off the fuel valve in periods when the ATV is used regularly.
3. Put the Gear Selector in Neutral (N) Or Park (P)

Gear layout varies between ATV brands and models, but most Chinese ATVs have three gears:
- (F) Forward
- (N) Neutral
- (R) Reverse
The gear shifter (if available) is typically a foot lever by the left foot or a hand lever on either side of the engine.
Look for gear indicator lights by the instrument cluster or physical markings near the gear shifter to identify the layout. Please refer to your owner’s manual for more information on the gearbox layout of your specific ATV.
The gear shifter must usually be in “N” or “P” for the ATV to start.
Observe the instrument cluster to see if the neutral light turns on. You may need to rock the ATV back and forth slightly to get it to change gears.
4. Place the Engine Killswitch in the “Run” Position

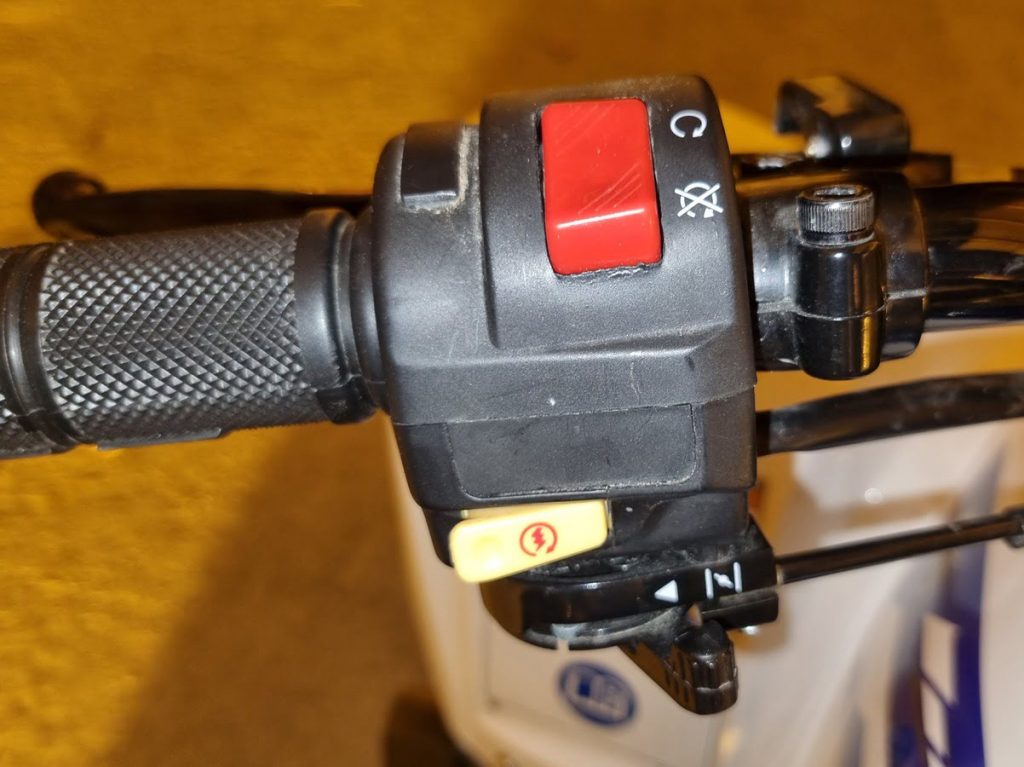
The engine killswitch, also known as the engine emergency stop switch, is typically located on the left handlebar and has two positions, “ON” or “RUN” and “OFF” or “STOP.”
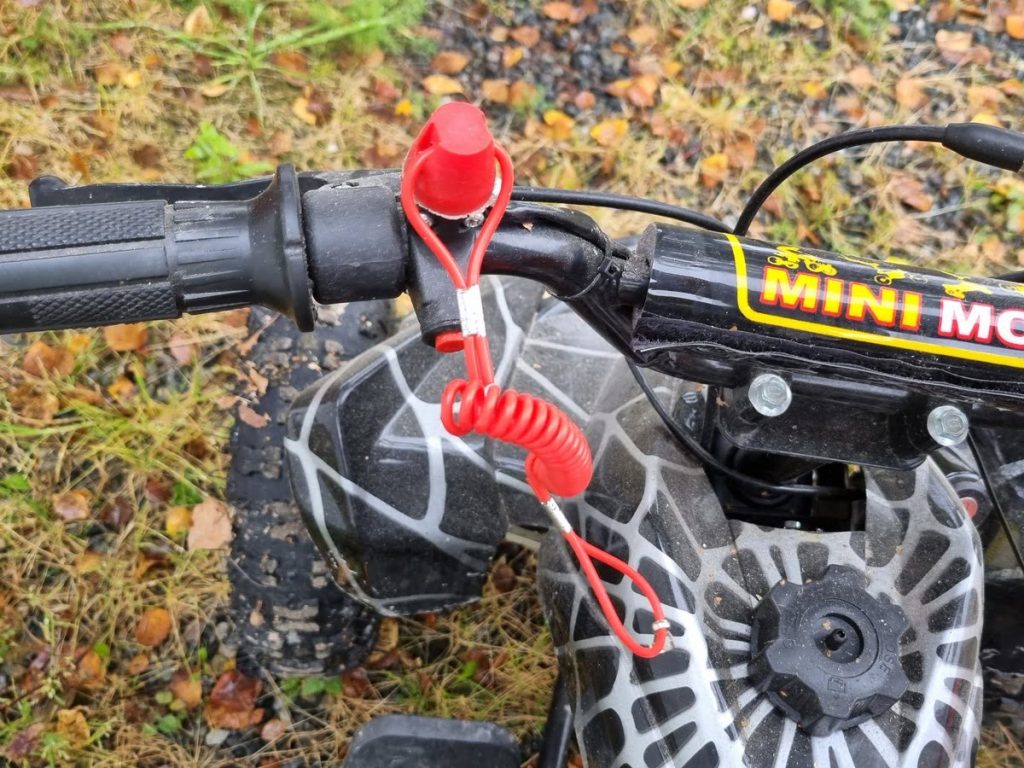
Also, ensure the lanyard cord pull stop-cap is attached correctly and the remote kill switch is turned on (if available). Some ATVs have one or both of these features as an emergency stop feature.
For more details on how these features function, continue reading further down in this article.
ON/RUN: When the switch is in this position, the electric circuits are connected, and the ATV can be started and ridden.
OFF/STOP: When the switch is in this position, the electrical circuits are cut off, and the engine cannot be started. This position stops a running engine.
Note: The primary function of the kill switch is to provide a quick method to turn off the engine in emergencies. It’s not meant to be the usual way to shut down the engine and should typically be left in the “RUN” position during regular use.
5. Turn the Ignition Switch to the “On” Position
Many budget-friendly ATVs don’t have one, but the ignition key needs to be in the “ON position.
With the ignition switch in the “OFF” position, insert the key and turn it to the “On” or “Start” position.
The ignition switch is typically located at the top center of the ATV near the instrument panel and has two positions, “OFF” and “ON” or “START.”
ON/START: Turns on power to the ignition system but doesn’t activate the starter. The key cannot be removed.
OFF: Cuts power from the ignition system. Stops a running engine or prevents a stopped engine from starting. The key can be removed.
Note: The ignition switch is the primary way to stop the engine under normal operating conditions. It may also prevent other people from driving the vehicle or some from accidentally activating the starter button when the ATV is not in use.
6. Use Choke When The Engine Is Cold

A cold engine needs a richer air/fuel mixture to start. This is achieved by tuning on the choke, which “chokes” the carburetor air intake, forcing the carburetor to burn more fuel relative to air.
Chinese ATVs typically use a manual choke that needs to be opened or closed depending on whether the engine is cold or warm.
The choke lever is typically located on the carburetor or as a manual pull lever near the other controls by the handlebars.
To start a cold engine: Depending on the type of choke your ATV has, either pull the carburetor choke lever all the way up or pull the choke lever located near the handlebars all the way out.
To start a warm engine: Depending on the choke style used, pull the carburetor choke lever all the way down or push the choke lever by the handlebars all the way in.
7. Press and Hold the Starter Button Until the Engine Starts

The rider should sit on the ATV before attempting to start the engine.
Press the starter button to engage the electric starter, causing the engine to turn over and start.
Release the button as soon as the engine starts to prevent damage to the starter.
Keep the starter engaged for at most five to ten seconds on each try. If the engine does not start, release the button and wait five seconds before trying again.
On some models, you may need to push the throttle lever slightly (about 10 to 20%) to start the engine. Let off the throttle as soon as the engine starts.
Related: ATV Won’t Start – Troubleshooting the Most Common Causes
8. Return the Choke Lever to the Running Position
When starting a cold engine, you must turn the choke back to the running position as soon as the engine heats up and before accelerating hard.
Choke lever located on the carburetor: Pull the lever all the way down.
Push/pull style choke lever by the handlebars: Push the lever or button all the way in. The lever may have a symbol indicating whether the choke is open/closed.
The ATV is now ready to ride. Remember to release the parking brake.
Starting ATVs With Pull Start or Kick Start
Not all ATVs have an electric starter but use a manual pull start or a kick starter. Some ATVs with an electric starter have a pull start or kick start as a backup in case of a flat battery.
The basic starting procedure is the same as starting an ATV with an electric starter. But instead of pressing the starter button, you need to operate the manual starter. All the other steps are the same.
For ATVs with a pull start mechanism: You’ll typically find the pull start on the engine, usually on the left-hand side.

- In step 7 above, grab the pull start handle with your hand and pull firmly.
- Stop before maxing out to prevent tearing the pull cord.
- The pull cord is loaded and pulls back in automatically when you let it back.
- Repeat the pulling procedure until the ATV starts.
For ATVs with a kick start: You will usually find the kick start lever in the left footwell area.

- Flip out the metal foot lever.
- Stand with one foot resting firmly on the opposite footrest and the other on the foot start lever in the top position. Keep both hands on the handlebars for balance.
- With your foot, press down on the foot lever in one swift movement (almost as fast as you can).
- The foot lever is spring-loaded and moves up when you raise your foot.
- Repeat until the ATV starts.
- Flip the lever back in before you ride.
If the ATV Has a Lanyard Pull-Stop

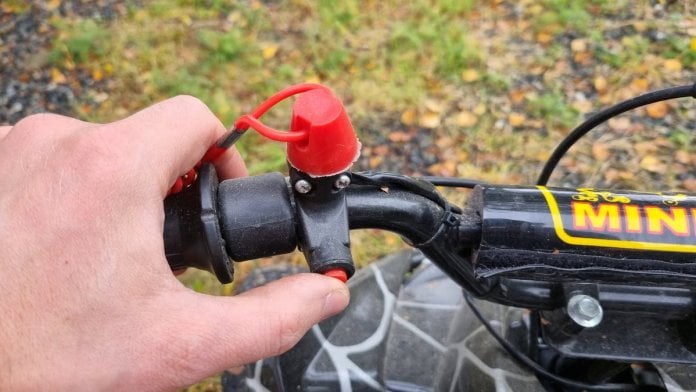
Many ATVs come with a tethered lanyard corded pull stop. When pulled, the lanyard endcap slips off a spring-loaded switch that acts like a kill switch.
The pull cap must be firmly on the switch for the ATV to start. The tethered pull cord should be securely fastened to the rider or held by an adult supervising a youth riding the ATV at walking speed.
Please refer to your owner manual for proper use of a lanyard pull-stop
If the ATV Has a Remote Kill Switch (Youth Models)
Some youth ATVs come with a secondary remote engine stop/killswitch to be operated by an adult in an emergency.
The remote must be in the “ON” or “Engine Start position” for the ATV to start. Ensure the key fob batteries are fresh to ensure proper function.
Pre-ride Checklist
Here is a quick pre-ride checklist for easy starting and safe operation.
Set the Throttle Limiter /Speed Limiter
Many youth ATVs come with a speed limiter set screw. Ensure the screw is set to the desired or recommended top speed according to manufacturer instructions before allowing a child to get on the ATV.
Throttle Lever
Make sure the throttle lever moves freely without drag and returns to the idle position on its own when you let go. If it doesn’t, you may need to lubricate the cable and the lever’s housing.
Do not start the engine if the throttle displays abnormal behavior. Ask your dealer to correct the issue.
Proper Safety Gear
Ensure the rider is equipped with appropriate safety gear. At the very least, they should wear a motocross-style full-face helmet and goggles. It’s also strongly recommended to wear riding boots that offer ankle protection and dirtbike body armor for added safety.
Remember, your child’s safety is always your responsibility as an adult. Please refer to the owner’s manual or ask a dealer for more safety tips and instructions.
Related: 10 Effective Tips to Prevent ATV Accidents
Fuel
Check the fuel level and ensure the fuel has not gone bad.
Related: What Type of Gas Is Best for ATVs? Does It Matter?
Engine Oil
Check the oil level in the engine. The level should be between min and max on the dipstick. Add oil according to manufacturer specs if necessary.
Air Filter
You should inspect the air filter daily. Replace or clean and oil the air filter according to manufacturer specs when it is visibly dirty.
Front and rear Brakes
Test the brakes for proper operation at a slow speed and correct them if necessary. Check the brake pads for wear if the brakes do not provide adequate braking.
Ensure there is not too much free play in the brake levers and adjust if necessary.
The brake cables may need lubrication if the ATV has been sitting. Spray WD-40 or some brake wire lube into the cable sleeve from its highest point. Lube brake lever pivot points.
Wheels and Tires
Ensure the wheels are not leaking and are in good shape. Check tread depth and replace the tires if necessary.
Check tire pressure. The tires on cheaper ATVs tend to leak when left sitting.
Related: How to Repair Any Leaking ATV Tire – Complete Guide
Drive Chain
Check for slack and wear. Lube with chain lube regularly to prevent premature wear.
Chassis and Suspension
Visual inspection. Look for loose fasteners or cracks in the frame. Ensure the suspension works as intended.
