Brakes that won’t build or hold pressure for some reason are a common issue people have with their ATVs. In this post, we’ll look at the most common causes of why this happens and how to fix it.
Related: How to Bleed ATV Brakes; Manual and Vacuum Method
1. There Is Air in the System After Replacing Brake Parts
This is the most likely cause, even if you think you got all the air out. No air bubbles coming out when you bleed with the manual method does not necessarily mean no air is left in the system.
Any time you replace or disassemble any brake components in direct contact with the brake fluid, air will enter the otherwise closed brake line system.
New brake lines are going to be full of air. This air needs to be bled out entirely before the brakes will start working as they should.
If the brakes feel mushy, the air is likely still inside, even if you think you got all the air out.
Tips for Successfully Replacing Brake Components:
- Set up all of the components where they should be, but don’t tighten anything before all of the components are where they should be.
- Proceed by tightening all the connections and brake line fittings, but do not yet tighten the banjo bolts down where the brake lines meet the brake calipers.
- Fill up the brake fluid reservoir and start pumping. Add more fluid before it drops below the minimum mark. If you do this operation manually without a vacuum bleeder, expect to pump the brake many times before you have got fluid through the system. Patience is vital for this part of the procedure.
- Continue pumping and adding more fluid until fluid emerges from the loose banjo bolts.
- Now tighten the banjo bolts down by the brake calipers as well.
- Proceed by bleeding the brakes with the manual method, one caliper at a time. Always begin with the caliper the furthest from the master cylinder.
- Ensure all fittings are snug and don’t leak. Disassemble the leaking connection, clean it, and reinstall if you see any leaks. All connections should be tightened snugly but do not overtighten.
If you’re still having problems, try this:
- Rotate the handlebar so that the master cylinder is at its highest.
- Open the brake fluid reservoir cap and remove the rubber diaphragm.
- Take a clean, flat small screwdriver and remove the little rubber plug at the bottom of the reservoir. Note that not all master cylinders have a rubber plug at the bottom. This trick only works for the ones that do.
- Jiggle the brake lever to remove any remaining air bubbles at the highest portion of the brake line.
- Reinstall the rubber plug and add more brake fluid if needed.
Another popular method for ATV brake bleeding that usually works is reverse bleeding. This post will tell you how to reverse bleed the brakes on your ATV.
2. Bad Master Cylinder Piston Seals
The rubber piston seals in a brake system spend their life in a highly corrosive environment. If these seals are left dry for over a few days, they may develop knicks, making them useless.

This may happen if you’re waiting for parts to arrive or doing a major rebuild that leaves the master cylinder dry.
Try keeping the rubber seals soaked in brake fluid if you cannot finish the job in a few days. If they crack and go bad, you will need a rebuild kit.
Whenever you restore an old ATV or one that has been standing for some time, throwing a rebuild kit into your cart along with the other parts you plan on replacing is a good idea. Expect to pay $10 – $35 for a complete rebuild kit that consists of:
- A piston
- Piston spring
- E-clip
- Dust boot
- Piston seals
3. Contaminated Brake Fluid
If the brake fluid gets contaminated or dirty, the master cylinder won’t work as it should. The dirt will build up inside the small canals and compartments of the master cylinder housing, possibly preventing proper brake fluid flow.
Rubber gaskets and parts sliding over the dirt build-up will allow brake fluid to bypass where it shouldn’t, and the piston won’t be able to build pressure as it should.
To fix this issue, you need to:
• Bleed all of the old brake fluid out. Open the bleed valve and pump the brake lever until all the liquid is out.
• Disassemble and clean the inside of the master cylinder using brake cleaner and a small brush.
• The dirt has likely worn the rubber O-rings and gaskets inside the master cylinder. Get a master cylinder replacement kit and replace these parts.
• Reinstall the master cylinder and add new brake fluid according to factory spec (usually DOT4).
If you have any problems with bleeding the master cylinder after doing this cleanup job, look at this post, where we look at several different ways of bleeding a master cylinder, or this post about ATV brakes that won’t bleed.
4. Damaged or Corroded Brake Lines
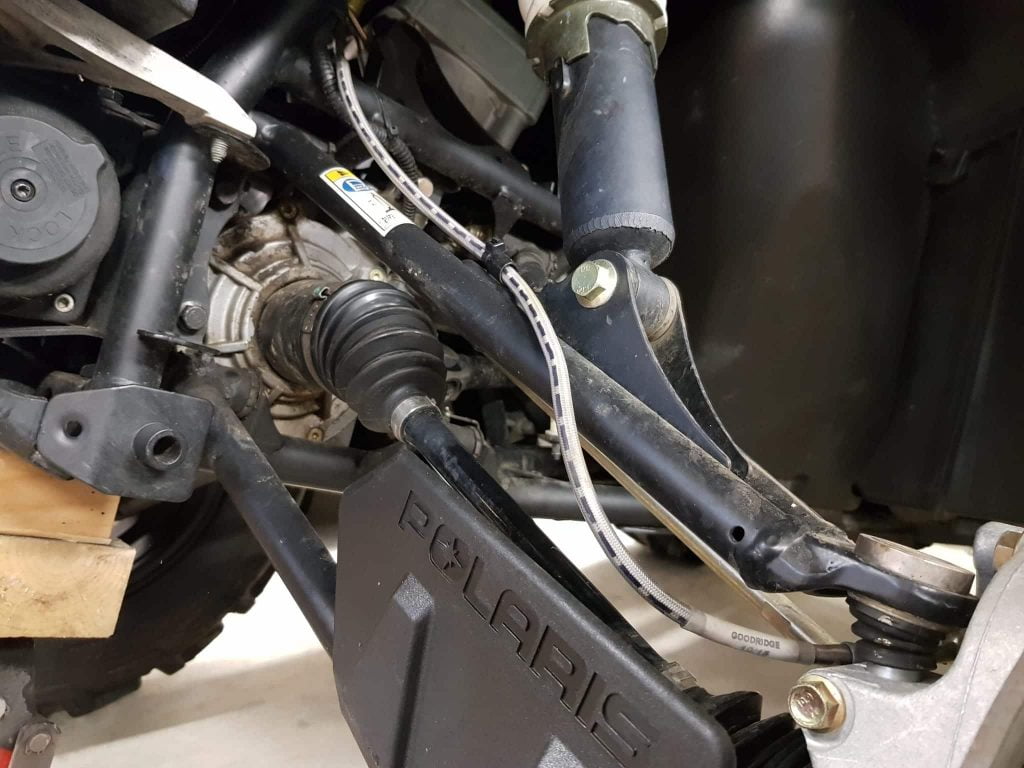
During off-road riding, brake lines may get damaged from smashing into rocks and branches. A smashed brake line won’t allow brake fluid to flow as it should. Or, there may be corrosion build-up that will also prevent proper flow.
Reinforced brake lines that are damaged will not provide a rock-hard brake feel as they should.
Inspect the brake lines from the master cylinder and down to the caliper. If you see any signs of damage or corrosion, replace the damaged component with a new one and see if this fixes your issue.
5. Moisture Inside the Master Cylinder
If moisture gets into the brake system and the master cylinder, there will be a residue build-up over time. This residue will prevent the rubber seals from closing entirely, letting brake fluid bypass when you brake.
To fix this issue, remove all brake fluid, flush the brake system with plenty of new brake fluid, clean out any residue from the master cylinder, and get a master cylinder rebuild kit.
Ensure the brake fluid reservoir cap seals properly so the problem won’t come back. Get a new seal if it’s not included in the master cylinder rebuild kit.
6. Brake Shoes Not Adjusted Before Bleeding Brakes
The brake shoes on the drum brakes must be adjusted properly before you can successfully bleed the brakes. If you don’t, air may still be trapped, and you cannot build brake pressure.
Note that this only applies to drum brakes, not disc brakes.
Do this on all brake shoe adjusters, one at a time. Tighten the adjuster until the brake locks up. Then back off the adjuster three clicks and move on to the next adjuster. Repeat on all wheels that have drum brakes before bleeding the brakes manually.
7. Brake Fluid Leak
If your brake system leaks, you will likely have problems building proper pressure. The leak does not have to be big before you start noticing that something is not correct.
On a dirty ATV, a small leak might be scarcely visible without any brake fluid visibly dripping to the ground. You may only notice a damp spot in the vicinity of the leak.
Again, you must inspect the brake lines from the master cylinder down to the brake calipers. Use a clean piece of paper and drag it along the brake line, making picking up any leaked brake fluid easier.
The leak may just as well be in the master cylinder or one of the calipers. Again, use a piece of paper towel to find the leak.
Replace any damaged parts. If the leak is in the master cylinder or brake caliper, you will need a master cylinder rebuild kit.
If the leak is in a brake line connection, such as the banjo bolt up by the master cylinder, you may be able to stop the leak just by cleaning.
- Open the brake fluid reservoir cover.
- Use a syringe to remove all brake fluid from the reservoir.
- Remove the banjo bolt.
- Clean everything, including the crusher washer and the connecting surface, using a nylon brush and some brake-clean.
- Reinstall and tighten according to factory specs.
- Add fresh brake fluid.
8. Missing Brake Drums
If you are doing a brake rebuild and try building brake pressure before installing the brake drums, you will likely not succeed.
The drums must be installed when you try building brake pressure. If they are not, the plungers inside the brake cylinders will get pushed out too far, allowing air to get back into the system.
Install the drums, bleed the brakes, and see if that’s what was causing your issue.
9. Insufficient Master Cylinder Feed Capacity
You won’t always be able to push new brake fluid down empty new brake lines only by pumping the master cylinder repeatedly.
If the brake fluid reservoir level does not drop after 10-20 pumps on the brake lever, you will likely need another method to bleed the brakes.
My favorite method to try in situations like this is using a simple vacuum bleeder to suck the new brake fluid down the brake lines. You can get it at any auto supply store for 10-20 bucks.
I write about how to use one in this post, which also covers a range of other methods to bleed the brakes.
10. Bad Brake Caliper Rubber Seal
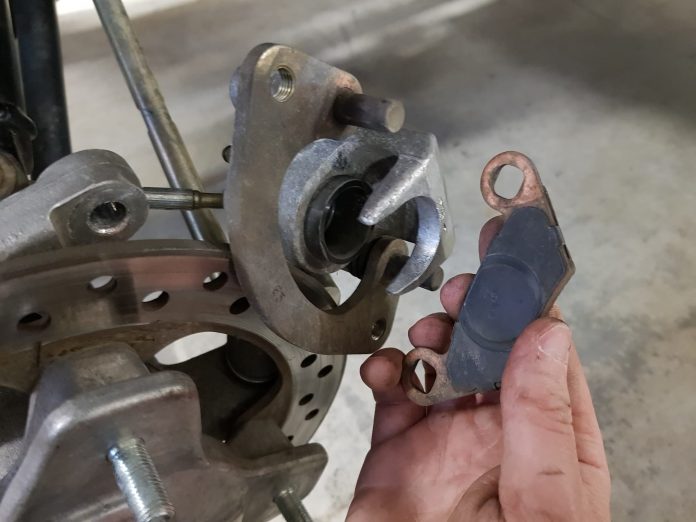
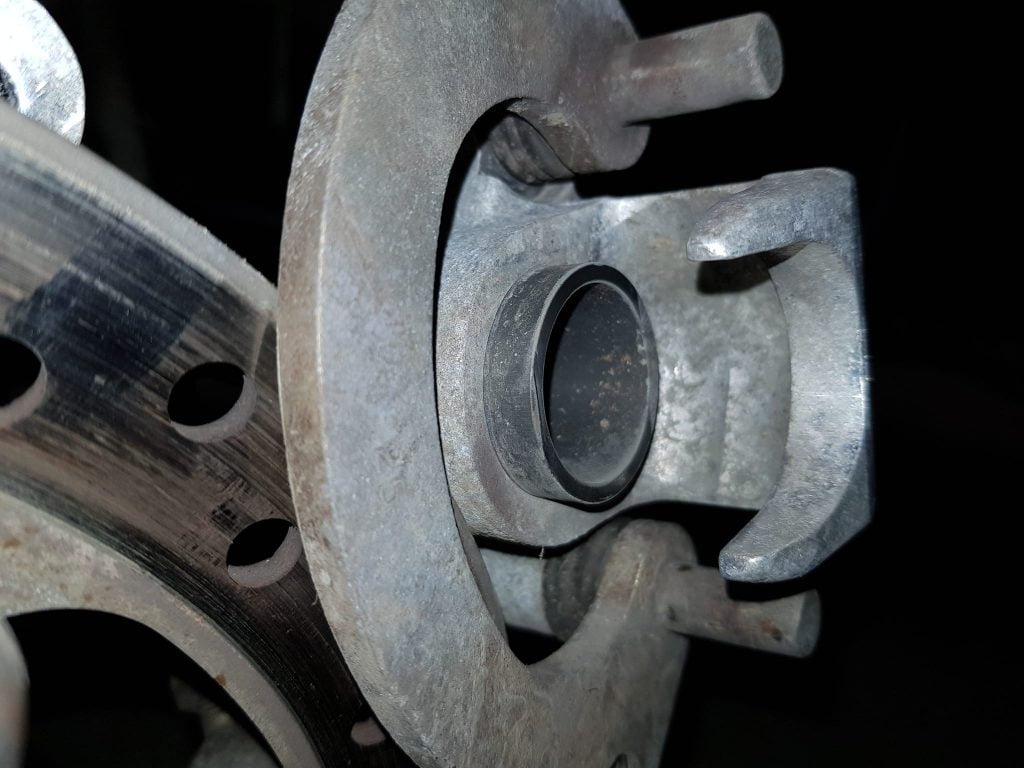
When you replace worn brake pads, you need to push the plunger in the brake caliper back to make room for new ones. If you are not careful, you may damage the rubber seal, causing a leak. The seal may also be bad just due to old age.
If you’re working on a clean, smooth surface, you should be able to detect a leak in this area quite fast. If you’re working on dirt or gravel, you may end up refilling the brake fluid reservoir several times before you notice the problem.
If you damage the seal, there is no way around replacing it. Rebuild kits are cheap, and the job is relatively easy to do.
11. Air-Locked Master Cylinder
The master cylinder houses narrow passages and recesses where tiny air bubbles can become trapped. If air is in your master cylinder, initiating pressure build-up could pose a challenge.
Read this post about how to bleed the master cylinder properly. Doing so should get you started. Then you can proceed to bleed your brakes with the manual method.
12. Air in the Second Master Cylinder (Rear Brakes)
Don’t forget that your ATV will have two master cylinders: One up on the handlebars for the front (and sometimes also the rear wheels) and one down by the foot brake for the rear wheels.
Depending on how the brake system on your bike is designed, you need to ensure both master cylinders are appropriately bled.
FAQ
Why do ATV brakes lose pressure?
ATV brakes can lose pressure due to reasons like air in the system, damaged seals, contaminated brake fluid, or damaged brake lines.
How can I troubleshoot an ATV brake system?
You can troubleshoot by checking for air in the system, inspecting the brake lines and seals, and ensuring the brake fluid is clean.
What if bleeding doesn’t resolve my ATV brake issues?
If bleeding doesn’t work, consider checking for component damages, fluid contamination, or leaks in the brake lines.
Wrapping Up
In conclusion, dealing with ATV brakes that won’t build or hold pressure can be daunting. But you can get your ATV brakes working again by systematically ruling out common causes, such as air in the system, contaminated brake fluid, or faulty components.
Remember to prioritize safety and follow manufacturers’ guidelines for servicing and repairs.


