
ATV batteries are considered consumables that need to be replaced occasionally. This guide will help you choose the correct battery for your quad and provide step-by-step instructions on removing the old battery and installing a new one.
How to Know if Your ATV Battery Is Defective
Before buying a new battery, verifying that your old one has failed is a good idea.
Begin by charging your battery properly with an external battery charger. Please refer to this guide to learn how to charge an ATV battery properly.
After charging the battery to a full charge, allow it to rest for at least 12 hours to relieve itself of any surface charge that could lead to a false reading. Then use a multimeter to read the battery’s voltage. Set the multimeter to DC voltage. The red lead goes to the positive battery terminal, and the black lead to the negative.
If the battery cannot hold a charge above 12.4V, it is likely starting to fail. Another telltale sign of a battery that has gone bad is when it won’t hold a charge over time; the voltage drops even when the battery is not connected and not in use.
Another simple and effective way of testing whether the battery is healthy is by performing a so-called load test. You can learn about it in this post.
Head to this post to learn how long an average ATV battery should last.
How to Find the Correct Battery for Your ATV
All ATV batteries are not the same. They vary in physical size, capacity (Ah-rating), battery terminal location and type, and battery type (traditional lead-acid, AGM, GEL, and Lithium-Ion).
When determining what battery you need, you have several alternatives.
- Take note of the model number of your old battery. You may get a new, identical battery if it still has the original battery.
- Refer to the owner’s manual. The manual should have the relevant specifications or battery type listed.
- Shop online. Use the battery selector that most prominent online battery retailers have. Input make, type, and model to get a list of compatible batteries in various price ranges.
- Ask your local auto supply store. Bring your old battery, or take note of its dimensions and take a photo of it and bring it to the store as a reference.
- Ask your dealer. They will know what battery you need and usually have it in stock. They do, however, charge more than some of the online alternatives.
How to Replace and Install an ATV Battery (Step-By-Step)
Tools and supplies you will need:
- A 10mm wrench or Philips screwdriver to release the terminal connectors.
- Tools to remove any plastic covers to access the battery.
- Tools release the battery bracket that is holding the battery in place.
- Protective eye-wear
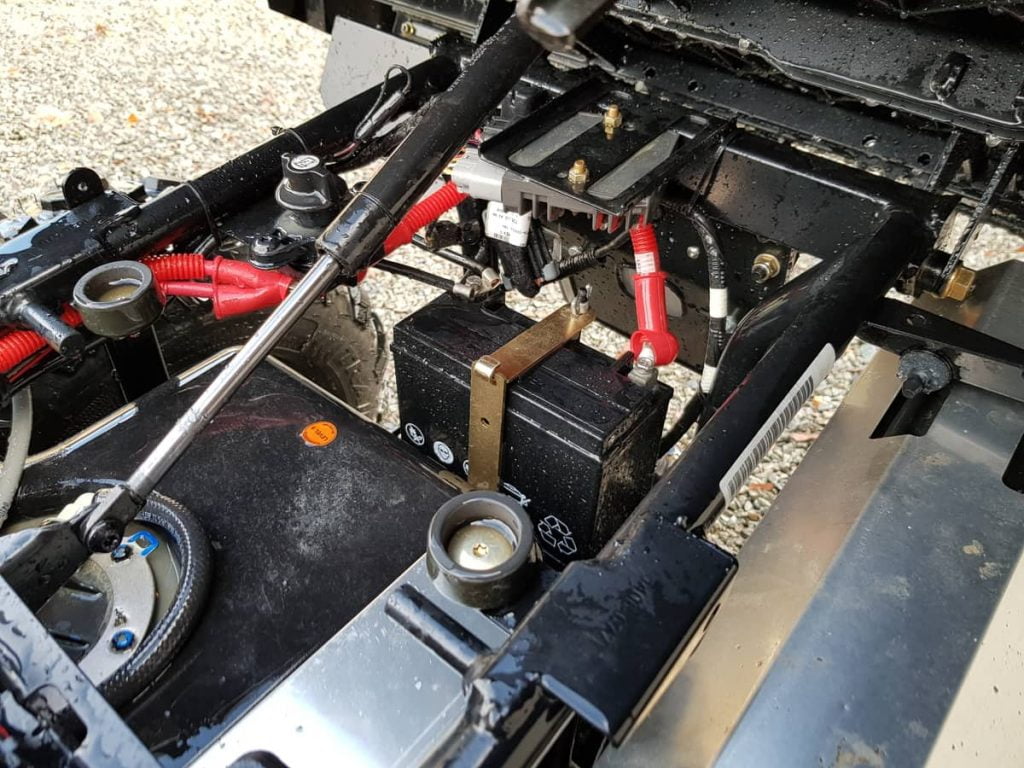
1. Locate and Access the Battery
Some ATVs have the battery in the front, some in the middle, and others at the bike’s rear end. On some models, the battery is visible when standing next to the bike, while on others, you need to remove plastic covers, the seat, or other components to access the battery.
See if you can spot the battery from the outside. If you see no sign of a battery, your best bet would be to remove the seat or the front cover.
Here are a few examples of battery locations on different brands and models:


2. Disconnect the Black Battery Cable
- Remove the BLACK negative (-) cable first.

3. Disconnect the Red Battery Cable
- Remove the RED positive (+) cable last.
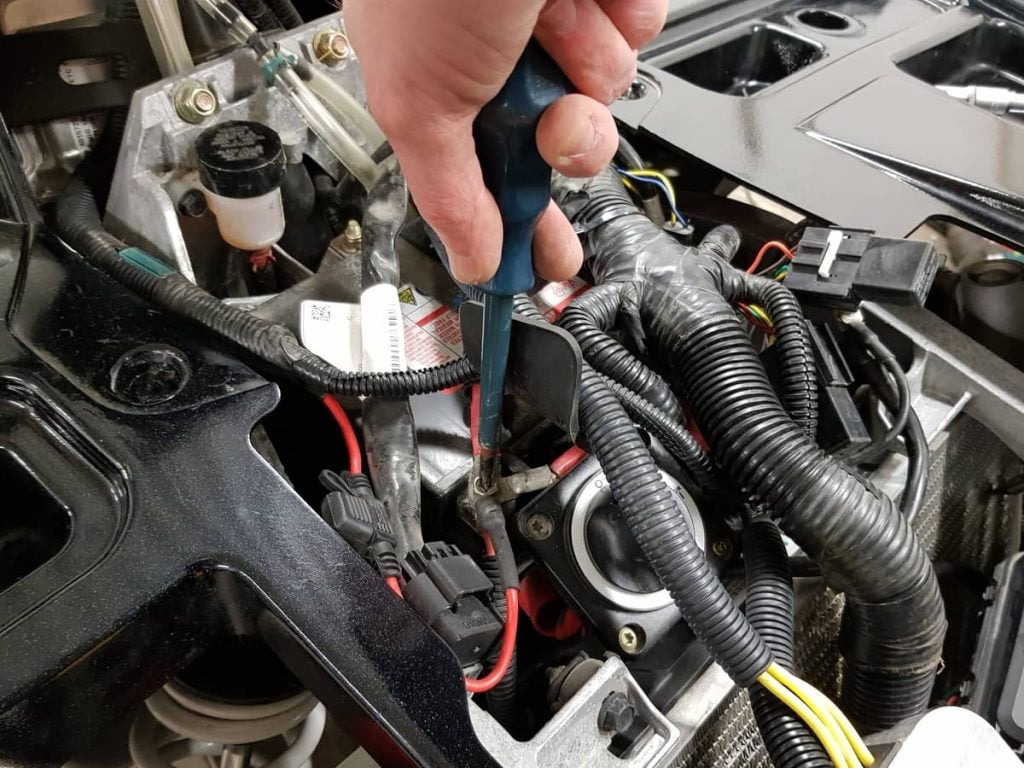
NOTICE:
- Always follow the specified order for removal; ALWAYS remove the black cable first.
- When removing the positive cable, ensure not to touch the negative terminal or a metal part of the ATV, such as the frame, as this will short the battery to ground.
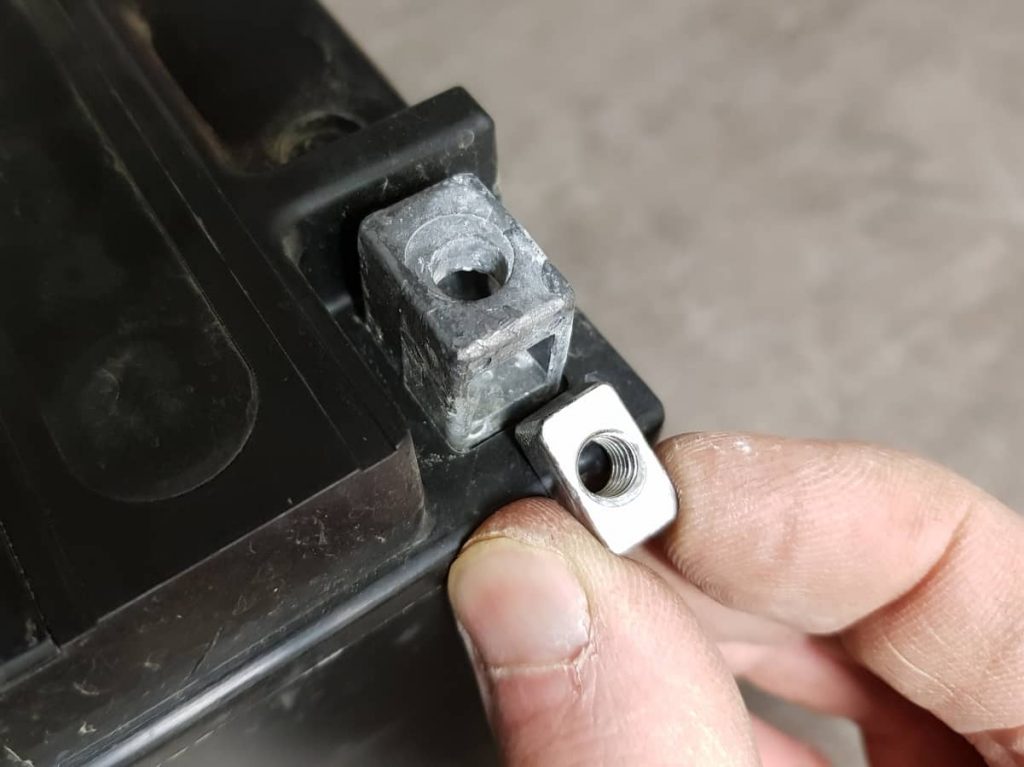
4. Disconnect the Battery Retainer
Different ATV manufacturers use various systems to hold the battery in place. A simple hold-down strap held in place by one bolt is the most common.
- Unscrew or unbolt the battery retaining mechanism so that the battery loosens.
NOTICE: Again, ensure not to accidentally short the battery to ground by touching the positive terminal with your tool when unbolting the battery.
5. Remove the Battery From the Vehicle
Take note of which way the battery terminals are oriented. The new battery should be installed the same way. Lift the battery out of its position. You may need to shift the nearby wiring to gain enough clearance to get the battery out.

PS: Remember to recycle the old battery.
6. Activate and Charge the New Battery for Installation
Some batteries are sold as kits that need to be activated before installation. The battery casing comes dry with no fluid, while the electrolyte comes in a separate container.
The kit should come with detailed instructions on how to activate the battery. Make sure to follow them closely!
Other batteries come pre-activated and need no assembly before installation.
Please charge the battery with an external charger to ensure it is fully charged before installation.
While some batteries come pre-charged, it is always good practice to top off the charge before installing the battery to the ATV.
The charging system on ATVs does not always have the capacity to charge a battery that holds a low charge, especially if you only go on shorter rides.
Your battery will lose some of its capacity if left at a low charge over time, so make sure it gets a good start by fully charging it before you start using it.
7. Put the Battery in Place and Install the Battery Retainer
Place the battery in the battery tray. Make sure it is oriented the same way as the old battery so that the red cable lines up with the positive battery terminal and the black cable lines up with the negative battery terminal.
Reinstall the battery retainer. The retainer bolts should be snug so the battery does not shift or come loose.
NOTICE: Do not overtighten the retainer bolts, which may crack the battery housing.
8. Reconnect the Battery Terminals
The battery terminal connectors should always be installed in the reverse order of the removal process.
IMPORTANT: Install the RED positive (+) cable first to the positive battery terminal, then install the BLACK negative (-) cable to the negative battery terminal.
Related Questions
Where Is the Battery on a Fogur-Wheeler?
The battery on a four-wheeler can be located in the bike’s upper front area, lower center area, or upper rear area. You may need to remove the seat or a plastic cover to see the battery. If you still don’t find the battery, your best option is to refer to your bike’s owner’s manual. It shows the battery’s location with a picture.
When Should You Replace Your ATV Battery?
The average ATV battery will last 3-5 years before it needs to be replaced. It’s good practice to replace it before it goes bad to avoid starting issues in an inconvenient situation. Slow engine cranking or an illuminated check battery light are early signs indicating that the battery is close to reaching its life expectancy. Sure signs that the battery has gone bad are when it no longer can be charged above 12.4V or when it no longer will hold a charge.
Can I Put a Bigger Battery in My ATV?
It is OK to install a bigger (higher ah rating) battery to an ATV as long as it is the same voltage, as long as it will fit, and as long as it can be held safely in place with the vehicle’s battery retaining system. The ATV’s charging may not be powerful enough to keep a bigger battery fully charged if you use power-consuming accessories such as a winch.
Related: Can You Use a Car Battery on an ATV or UTV?
What Kind of Battery Does a Four-Wheeler Take?
ATVs and four-wheelers take 12V lead-acid, AGM, GEL, or Lithium-Ion batteries. Most ATVs have a conventional flooded lead-acid (FLA) or absorbed glass mat (AGM) battery.
Wrapping Up
Navigating the intricacies of ATV batteries can feel daunting, but with this guide, you can successfully identify, choose, and replace your battery. By following these steps, you can ensure your quad’s long-term performance and reliability.
Remember, taking the time to understand and maintain your ATV’s battery can significantly improve your overall riding experience.