
To build a proper ATV mudding machine, there is no way around making at least a couple of modifications to your stock machine. Some riders get badly bitten by the mud-bug and don’t stop until they’ve replaced almost every little part of their machines.
But for anyone just getting into ATV mudding, you can create quite the capable rig by performing some of the more essential mods.
Some mods are done to enhance performance and the bike’s mud-throwing capabilities. These are the most fun.
But these adrenaline-pumping riding sessions will put your machine through extreme challenges.
Therefore some of the recommended mods may not be the most exciting way to spend money. Nevertheless, they are essential to prevent damaging the bike when exposing it to the extreme stress of hardcore mudding.
Swap Out the Stock Tires
This first one is a must. The stock tires lack almost everything that makes a great set of mudding tires.
Proper mudding tires must be designed with beefy lugs to get as good a grip as possible in the mud. The thread of the original ones will fill up with mud in no time so that all grip is lost. It’ll be like running slicks on a rainy day. Look for lugs at least 1,5 inches tall or more.

You also would benefit from stepping up to a bigger tire size. A larger diameter will give you better ground clearance to avoid getting stuck on rocks or stumps hidden in the mud and allow you to ride in deeper mud than with the originals.
Related: Putting Bigger Tires on an ATV: All You Need to Know
The bigger tires generally hold more air, creating more flotation to keep that front end up.
This effect will cause the ATV almost to “float” on the mud rather than sink in. This will create significantly less resistance than simply pushing the mud in front of the bike like a bulldozer.
Purpose-made mud tires do come with some disadvantages, though. So for a multi-purpose, occasional mudding machine, you may regret getting the most extreme types.
The tall lugs will make your bike dance like a drunken sailor when riding the trails. So these are primarily for paddling at low speeds.
They are also often quite a bit heavier than stock tires, so you’ll need more engine power to compensate. As discussed later in the post, this can be tackled by installing a clutch kit.
Related: ATV Mud Tire Weight Comparison (With Charts)
Adjust the Tire-Pressure
This mod is free and applies whether you run stock tires or swap to something more extreme.
You want to go as low as 4 psi for optimal traction in the mud. However, this does increase the risk of the tire de-beading when you hit something like a rock or a stump.
While it is possible to reinstall a tire that’s come off the rim out on the trail, it requires some tools, time, and unnecessary hassle.
Increasing the PSI to about 7 will be a good compromise (0.5 bars).
Related: Everything You Need to Know About ATV Tire Pressure
Upgrade to Beadlock Rims
But if you’re not one for making compromises and wish to drop the pressure all the way, you will need a set of bead lock rims to keep the tires in place. These types of rims consist of the rim itself and a ring that you screw in place to clamp the tire to the rim. Locking the bead in place – hence the name bead locks.
You’ll find models with just the outer side fixed with a ring and others with this on both the inner and outer sides of the rim.
Unfortunately, these rims are usually quite costly so they won’t fit everyone’s budget. But they sure do look cool!
Related: How Do ATV Beadlocks Actually Work?
Install an Air-Snorkel
This one is another mudding must. And luckily, you can get a complete kit without breaking the bank, as you may need with the rims.
The primary purpose of snorkels is to keep mud and water from entering the bike’s insides where they really shouldn’t be.
If water enters the engine, it will water-lock. If you are lucky, it will just stall, and you must go through a pretty time-consuming routine to get the bike going again. If you are not so fortunate, it may cause severe damage to your engine, sometimes beyond repair.
The engine gets its air through the air intake, so you must always ensure it is above water level by extending it with a snorkel kit.
Next, you want to ensure water does not enter your CVT transmission housing.
If this happens, it will cause the belt to start slipping, leaving you stranded. At this point, you want to shut off the bike, have a buddy tow you on shore, and drain the case before you can ride any further. Failing to do so will burn the belt because of the friction of the spinning clutch.
To prevent water from entering in the first place, you will need to extend the intake port and exhaust vent of the housing by installing more snorkels.
This is why you usually will see at least three snorkels on the ATV mudding monsters.
At last, you may want to extend your exhaust to prevent water from entering through the back door. As long as you keep the REV’s up, nothing will enter, but as soon as you idle or, for some reason, will need to stop the engine, water will come flooding in.
Seal the Air Filter Box and Intake Tubes
You’ve mounted a snorkel kit or never ridden in waters deeper than your bike’s original air intake height. But your ATV is still not quite ready to go swimming.
It doesn’t matter how high your air intake is as long as the pipeline leading the air into the engine is not waterproof.
Water may enter through joints, poorly fitted pipes, or the air box. You need to check the whole line from the intake to the airbox and into the engine.
Permanent plumbing can be sealed with silicone. But remember, it will be a pain to disassemble if needed later.
Another critical point will be the seal between the open end of your air filter and the airbox casing. A gap here will draw water or mud that gets inside your airbox straight into the engine.
At this point, using silicone would not be your best option. That is if you ever plan on removing the filter.
Luckily there are good alternatives.
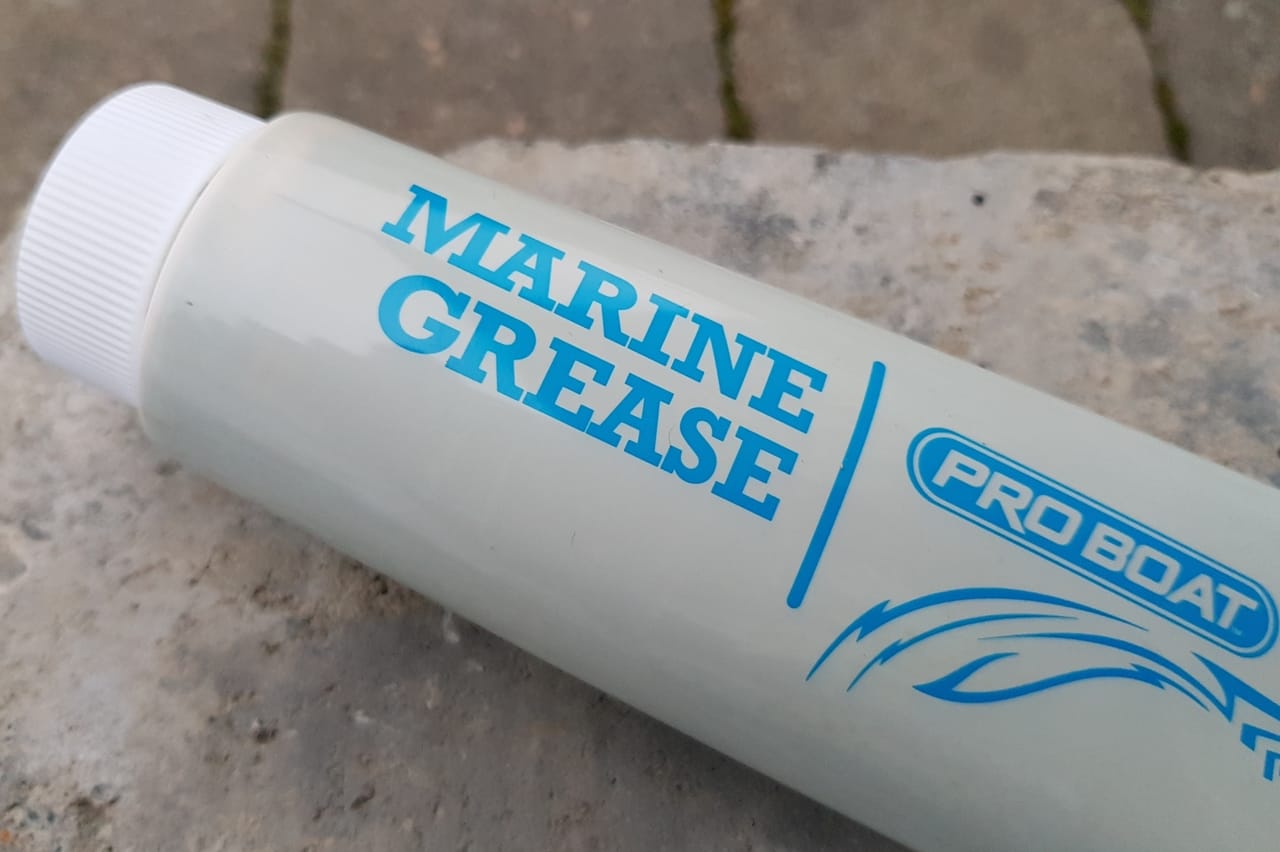
Applying some marine grease to where the filter comes in contact with the airbox will do the job well. The grease is waterproof, quite flexible, and does not wash away.
Install an Aftermarket Air Filter or Air Filter Cover
Some products are purposely made for those who run a lot in wet conditions. You can also get upgraded seals to install on your stock box lid.
If you plan on sinking your bike regularly, this could be a well-paid investment in the long run.
Install an O-ring Chain
If your bike is chain driven, riding in water or mud will wash away the grease on your chain in no time, causing premature chain wear.
Installing an o-ring chain will quickly pay for itself as it will outlast a regular chain quite a bit when riding in these conditions.
Install a Winch
You won’t go a second time if you’ve ever been out mudding without having a winch installed or at least a buddy with a winch.
When the bike is stuck seat-high in the muck, you have few other options than winching it out if you plan on bringing it back home.
Related: What size ATV winch do you need? (with examples)
Install a Lift Kit
Installing a lift kit will prevent your massive mud tires from rubbing your plastic fenders.
It will also give you some much-needed extra ground clearance and allow diving into even deeper mud without drowning the ATV completely.
It helps reduce the risk of getting stuck hanging on top of a stump you didn’t notice under the mud.
But remember, the bigger you go, the more stress you add to other components on the bike, like the CV axles, ball joints, and bushings. Installing wide-angle CV joints is often necessary if you lift more than a few inches.
Related: ATV Lift Kits: Weighing the Pros and Cons
Upgrade to Heavy-Duty CV-Axles
Installing beefy mud tires with aggressive tread adds a lot of stress to other bikes’ components. The CV-axles are usually the first to go because of the extra momentum and stopping power.
To avoid this, you can upgrade your stock axles to heavy-duty ones. Often a good aftermarket set will cost about the same or even less than the original ones and are pretty easy to replace.
Install Skid Plates
You may consider installing skid plates to shield the underside of your bike from being damaged when hitting stuff and to make it a bit smoother underneath for better flotation.
These plates come in either aluminum or some shock-resistant plastic and are custom-made to fit your specific ATV.
Relocate the Radiator
On most stock bikes, the radiator is mounted relatively low at the machine’s front end. This location is excellent for most normal ATV usage, but it is not suitable for mudding.
The radiator will soon get stuffed with mud, dramatically reducing its cooling abilities. When hammering through thick mud all day, you’ll need all the cooling you can get to prevent your engine from overheating.
The best way to tackle this issue is by relocating the radiator somewhere higher on the bike, like on top of the front cargo rack. This will leave it more out of the mud, and it also makes for easier access for cleaning.
By getting a radiator relocating kit, you’ll get all the hoses and brackets needed to perform this mod.
Seal Radiator Gaps With Tape
A cheaper alternative than relocating the radiator is to use tape or plastic pieces to seal off the gaps around it to prevent them from being stuffed with mud. Just make sure your modifications do not restrict airflow to the radiator.
The WD-40 Treatment
If you give the undercarriage and the bike’s plastics a good spray with WD-40, you will not only prevent your ATV from rusting, but it will also make the cleaning job a lot more enjoyable as the mud will not stick.
Remember to use silicone-based stuff, as ordinary WD-40 may deteriorate rubber gaskets over time.
Grease the ATV Using Marine Grease
Marine grease has better water-resistant properties and should be used instead of regular grease. Doing so will make all your bushings, bearings, and pivot points last much longer.
Install a Performance Clutch Kit
When installing bigger tires, your clutches will operate less efficiently because of the change in tire circumstances.
It’s usually no problem increasing tire size by one inch without doing anything to the clutches. But as soon as you go bigger, you should probably complement your big wheels with a clutch kit designed for your chosen tire size.
The kit will allow the clutches to operate much more efficiently and increase the RPM needed for the clutch to engage.
They do cost a few dollars, but the investment will soon pay for itself in reduced belt wear and fuel savings. As a bonus, you’ll get a much better throttle response.
Power Upgrades
Bigger tires require more power. And your new big tires are no good if you lack the power to keep them spinning efficiently in the mud. If you aim for the 32-inch range and bigger, you most likely need to amp up the engine power to keep up.
Installing an aftermarket exhaust combined with a remap is an excellent way to start. The next step would be mods like installing a big bore kit, but at this point, cost and complexity become a party stopper for most riders.
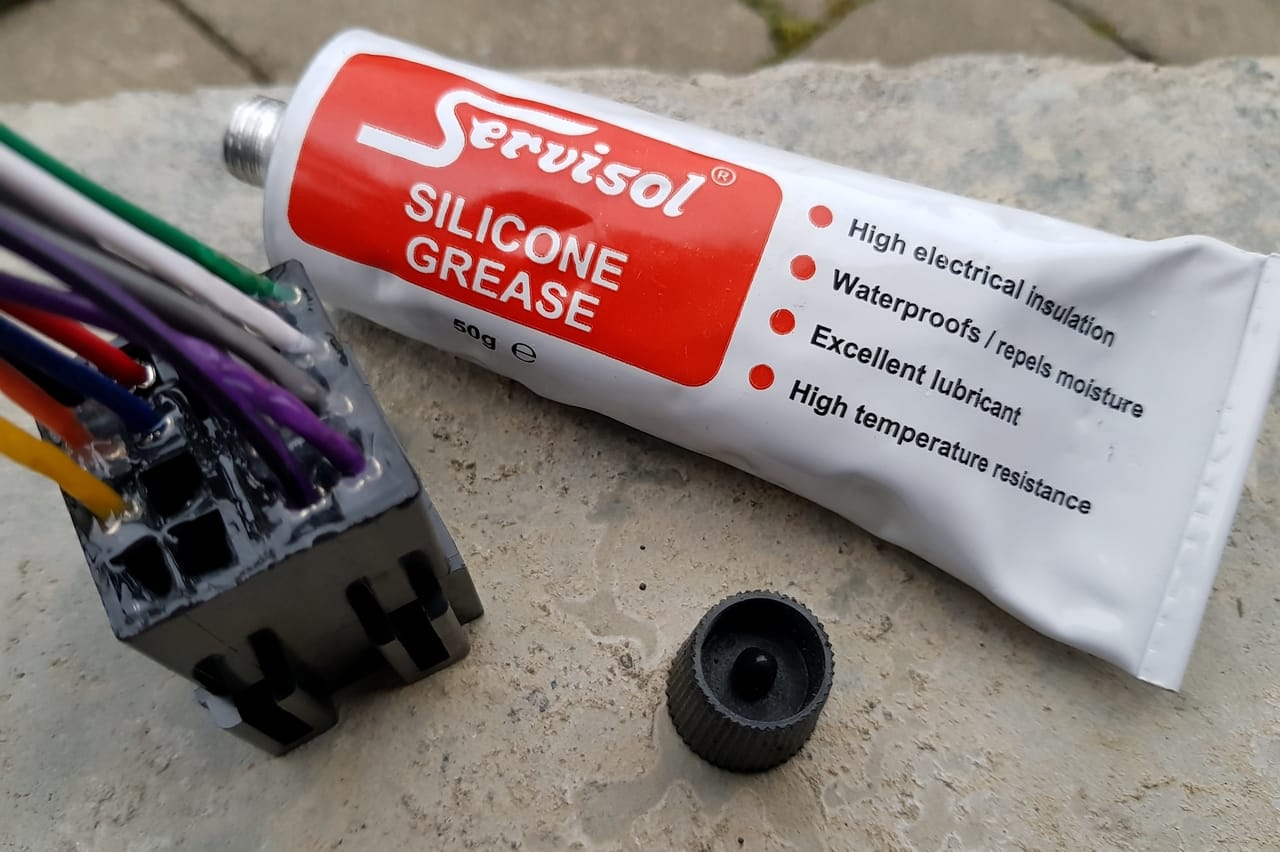
Waterproof all Electrical Connections and Switches
You will save yourself many future agonies if you take the time to perform this cheap simple step.
All electrical connections you can get to, including inside the spark plug boot, should be sealed with dielectric grease or some anti-corrosive gel, both of which are non-conductive.
This will slow down or even eliminate any corrosion in your electrical connections and wires by creating a barrier between the metal and the elements (air, water).
It will also prevent any shorts from happening when you are skimming across the mudhole.
Pay extra attention to the rear portion of the plug, as it will be exposed the most. It should be sealed up entirely by massaging some grease onto it.
The switches on your handlebar would also benefit from treatment. Just make sure you don’t get grease on your grips.
Install Heated Grips
Now hold on; no one is mudding in the winter! However, installing heated grips serves a couple of essential purposes for all-year mudding.
Mud will splash everywhere, and you’ll have difficulty keeping your hands dry. And wet hands tend to get cold, especially on days with moderate temperatures.
When your hands get cold, it is uncomfortable, and you’ll soon cramp up or lose your grip due to fatigue.
The heated grips will also keep your grips nice and dry instead of wet and slippery.
Install Handguards
This will not just keep your hands less likely to become soaked in mud and water. It will also protect your knuckles from flying dirt from the rider in front of you.
Other times when you need to floor it to make it through the mudhole, you can’t afford to let off the throttle, even if a branch is whipping your fingers. Believe me; you won’t regret installing handguards in situations like these.
Ensure You Have Solid Anchoring Points
When you go mudding, you will, at some point, get stuck entirely; prepare accordingly.
Ensure your bike is equipped with a solid anchor point at the front and rear. Whenever you need help from a friend to get unstuck, you want to ensure there is a quick and easily accessible spot to attach the winch hook or tow strap.
If your bike does not have one, bolt on one or use the hitch mount to fit one. There are a lot of varieties available.
Just do not rely on attaching the winch to your brush guard or cargo racks, as these will more than likely bend or break from the force needed to get you unstuck.
Install Fender Flares/ Widening Kit
Depending on how good coverage the original plastics give, you should consider installing fender flares to protect yourself and others from flying mud and other debris.
For example, if you own a Polaris Scrambler, you better bring full diving gear if you plan on mudding with just the original fenders. Luckily there are suitable widening kits available for this bike and others.
If looks don’t bother you, choose a DIY solution with 5-inch rubber strips bolted to each fender.
Switch to Mud Grips
If you want to maintain a good grip but do not want to install heated grips, you may consider getting a set of purpose-made mud grips. These will have softer rubber and a more aggressive pattern and give you a better grip in the wet.
Be aware that they will wear faster because of the soft rubber, and the aggressive pattern will wear your gloves.
Install One-Way Check Valves
Breathe tubes from the crankcase; the differential can suck water in if you stay submerged long enough. By simply installing some one-way check valves to the tubes, you will not affect ventilation, but at the same time, no water will get in.
Get High-Grip Foor Boards or Pedals
The original footboards may become slippery as soon as they get wet or stuffed with mud.

You need a proper grip to maintain control of your bike when wiggling the bike from side to side to get that last percent of forwarding momentum.
Most pedals can either be replaced or upgraded with ones with better grip. Some manufacturers even use up-side-down tire studs in their pedals to give you optimal grip. This will, however, wear quite a bit on your boots.
Install a Coolant Temp Gauge
Mudding takes a lot of power and generates a lot of heat. Also, you have the bonus of your radiator getting packed with mud regularly, significantly decreasing its cooling abilities.
Installing a coolant temp gauge, if your bike does not have one already, will give you extra insurance by telling you when to provide the bike with some minutes to calm itself back down.