However strange it may seem, having problems shutting off the engine on an ATV is more common than you may think. The bike may run as usual, but the engine keeps running when you turn off the key or hit the kill switch. What may be causing this strange and potentially dangerous behavior?
The most common causes of an ATV that won’t shut off include:
- Poor grounding in the ignition
- Damaged ignition wires
- Faulty kill switch or ignition switch
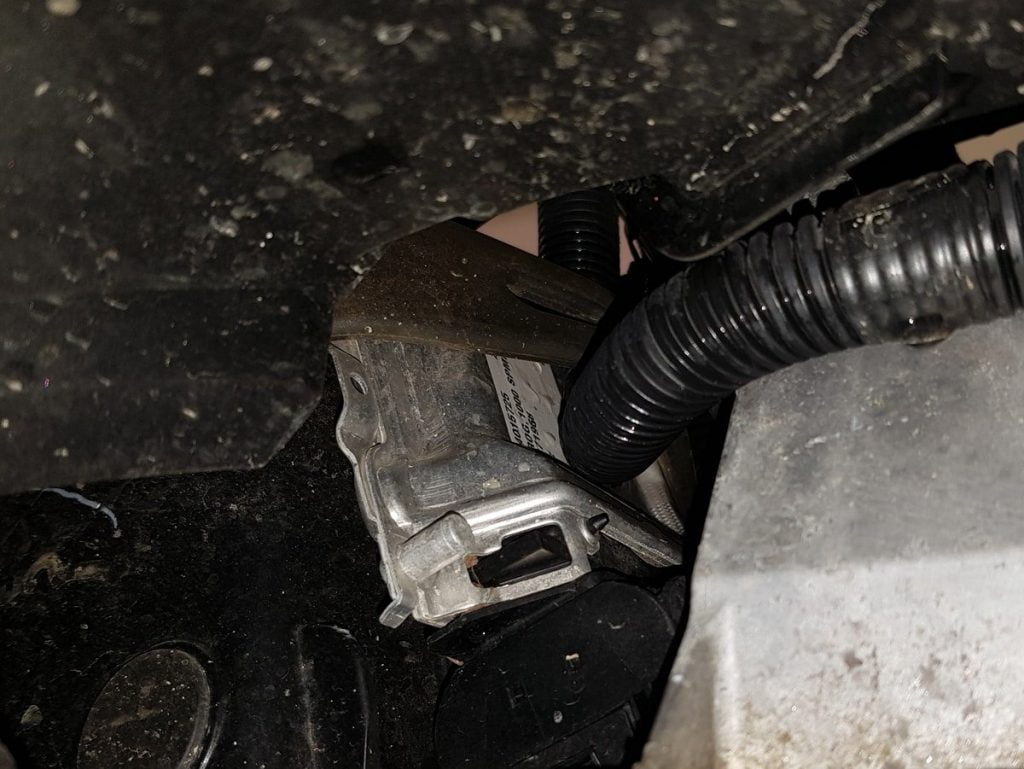
- Faulty ECU or CDI
- Overrun on carburated ATVs
When faced with an issue like this, the problem is often electrical. To support this presumption, let’s begin by looking at what the ignition key or kill switch does to turn off the engine.
How the Ignition Key and Kill Switch Shuts off the Engine
Any gasoline engine needs three components to run; fuel, air, and spark. When you remove any of these elements, the engine will shut off.
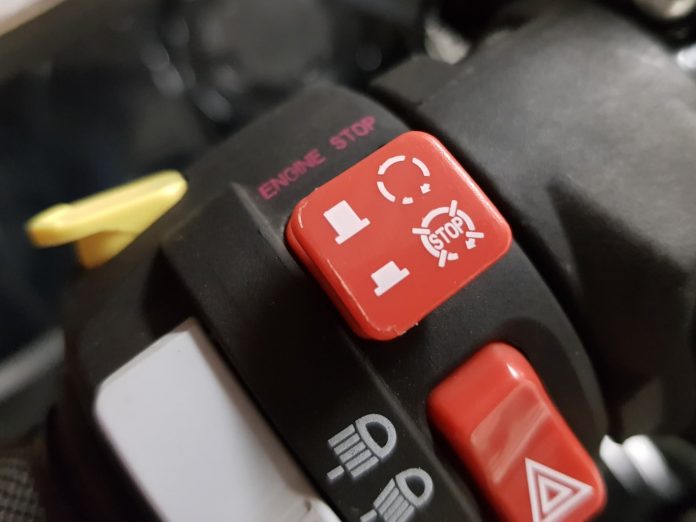
When you turn off the ignition key or hit the killswitch, the ATV should remove the spark. The spark plug will no longer ignite the fuel, effectively shutting off the engine.
The Ignition key and killswitch are both parts of an electric circuit that, when active, sends an electric signal to the CDI or ECU, telling them to power the coil that then sends a high voltage charge to the spark plug.
When you turn off the key or activate the kill switch, it is no longer supposed to send a signal to the CDI or ECU. When the engine doesn’t shut off, there is usually an issue in this circuit that causes an electric signal to be sent regardless of the switch’s position.
Here are the basic principles of how the ignition key stops the ATV and what components are involved in the circuit.
Please note that these are general guidelines. Your ATV may be wired differently. Your service manual’s wiring diagram will always be your best source of learning how your bike is built.
- The ignition key gets power from the battery and the stator through the voltage regulator. The positive side of the ignition key is always powered.
- The ignition key is wired to the ECU or CDI. The wire you are looking for is often black with white or yellow tracing but refer to the wiring diagram in your service manual, as your ATV may be wired differently.
- When the ignition key is on, the ECU or CDI gets an electrical signal, telling it to power the ignition coil, which is powering the spark plugs.
- When the ignition switch is off, the electric signal is directed to ground, telling the ECU or CDI to stop powering the ignition coil. On modern ATVs with electronic fuel injectors, the ECU also tells the fuel pump and injectors to stop sending fuel into the combustion chamber.
- The kill switch is connected in parallel with the wires from the ignition switch. When the kill switch is off, it will send the signal to ground, regardless of the ignition switch position.
Focus your troubleshooting on these components, and you have a good chance of finding the cause of your issue.
Look up an exploded parts diagram on a site like partzillla.com. This will help you get an overview of what the different components look like and where they are located on your machine,
Recommended Troubleshooting Tools and Resources
In some cases, you can identify the problem without any tools. Still, to make troubleshooting a bit easier, it is recommended that you have the following tools and resources at hand:
- Multimeter
- Service manual for your ATV model with a wiring diagram.
Check out eManual Online to get factory workshop service and repair manuals for your ATV.
Now, let’s begin troubleshooting by exploring typical issues that may prevent your ATV from shutting off the engine.
Ensure the Ground Wires Are Correctly Connected
It’s a good idea to start your troubleshooting by inspecting the ground wires and connectors. They are relatively easily accessible, easy to repair, and do not require expensive spare parts.
When the grounding in the ignition system is bad, the ignition switch or killswitch cannot short the signal to the CDI to ground as it should.
Start with your ignition switch and trace the ground wires via the kill switch, the CDI, and the ignition coil.
Ensure all connectors are correctly fastened to their grounding spots and have proper contact with bare metal. If you notice traces of corrosion, disconnect the wire and clean the connector and connection point with sandpaper to ensure a solid connection.
Please ensure no pins in the connector plugs are loose, causing them to back out when you connect the plugs. It can be a bit hard to see whether the pins are in place or not. By gently pulling on each pin from the back of the plug, you can verify that they are correctly seated.
Also, inspect the primary engine ground connection as it’s a common place for corrosion, causing poor grounding.
You can use a multimeter to verify that ground is present at the ignition, kill switch, and CDI box.
Another way to test whether the grounding is good is by directly connecting a piece of wire from a bare spot on the frame to the ignition or kill switch.
Caution! This tip should only be performed with extreme caution, as you can get electrocuted if you are not careful. Never touch bare metal parts, and use a pair of insulated pliers to hold the wire as a precaution.
Ensure the Ignition Wires Are Not Damaged
If the ignition wires become pinched or otherwise get damaged so that a hot wire comes in contact with either a ground cable or a grounded portion of the ATV, you will have a so-called ground fault.
This may prevent the ground cables from shorting to ground as they should.
A previous owner may have tapped into the wiring to install accessories but didn’t do a proper job during installation or when removing the accessory before selling the ATV. Simply wrapping a few layers of electrical tape around a hot wire or connector is a frequently made error. While this may work as a short-term fix, the tape may eventually come loose due to dirt, water, and vibrations.
Trace the wires coming from the ignition switch and kill switch to see if there is any visible sign of damage or tinkering, such as damaged insulation, DIY electrical tape patch jobs, or burnt wire.
Fix any damaged wiring, or if you’re not confident in your wiring abilities, consider replacing the entire switch and cable assembly.
Ensure the Ignition Switch and Kill Switch Work
If your wiring seems in good condition, your next best bet is to look at the ignition switch / key cylinder or killswitch.
An ignition switch or kill switch can fail due to internal wear or corrosion. If there is an internal short inside the switch, the CDI wire may always be hot, continuously telling the CDI to run the engine.
Typical signs of a bad switch are when:
- The ATV turns off only when you turn the key very slowly
- The ATV turns off when the key is turned approximately 3/4th of a normal turn.
Disassemble the switch to look for corrosion. Note that not all ignition switches can be opened without ruining it.
If you observe only minor signs of corrosion, cleaning the contact points and applying a generous amount of electrical cleaner to the entire assembly could be worthwhile. Pack the unit with di-electric grease to protect the internals from further corrosion.
If you have a multimeter, you can test the switch for continuity. Depending on your ATV’s wiring design, you should get a positive reading when the key is off and no reading when it is off or vice versa.
If all else fails, you can replace the whole switch assembly. A complete ignition switch assembly costs around $20 to $50.
Ensure the ECU or CDI Is Not Damaged
When you are positive that the ignition wiring and switches are ok, it’s time to address the CDI or ECU/ECM module.

The CDI stands for Capacitor Discharge Ignition and controls the spark.
An ECU (Engine Control Unit) or ECM (Engine Control Module) does much more than control the spark, such as controlling fans, power steering, lights, and transmission.
These boxes may fail due to water exposure, heat, or old age, but they are challenging to troubleshoot. They are not something you replace unless you have to, as they can be expensive.
Before you spend your hard-earned cash on a new unit, there are a couple of things you can do to look for signs of damage.
Detach the connectors from the box to check for signs of water damage or corrosion. Make sure the seals are undamaged and seated correctly. If you see any sign of water getting into the unit, it’s a good chance it is failing.
When the Engine Keeps Running a Few Seconds After Turning off the ATV
If you shut off the ATV, but the engine keeps running for a few seconds after turning the key, you are likely experiencing a phenomenon known as “overrun” or “dieseling.”
What happens is that the cylinder and spark plug is still hot enough to ignite any fuel that is still present, even after the ignition is turned off.
This may happen on carbureted ATVs as there is no practical way to turn off the mechanical fuel pump and carb.
This problem may be caused by the timing being off, the bike running too lean, or not using the correct spark plug.
- Replace the spark plug with the correct spec.
- Make sure the carburetor is set according to manufacturer specs.
- Look up a timing diagram for your specific model, pull the magneto, and make sure all the timing marks line up correctly. Setting the timing is a job best left to a professional if you are below average mechanically inclined.
FAQ
What should I do if my ATV doesn’t turn off?
If your ATV won’t turn off, try engaging the emergency kill switch. If that doesn’t work, you may need professional help to fix the problem.
Can a stuck throttle cause my ATV to not shut off?
No, a stuck throttle won’t cause the ATV not to shut off. It can keep the engine revving, but the ATV should still shut off with the ignition or kill switch.
Wrapping Up
Equipped with the knowledge shared in this article and the right set of tools, you’re now prepared to diagnose and resolve the perplexing issue of your ATV not shutting off. Whether it’s a poor grounding, damaged wires, a faulty switch, or an engine overrun, knowing what to look for is key to finding the source of the problem.
