Most ATV owners will experience a flat tire at some point, typically caused by a sharp rock, dry stick, or a rusty old nail behind the barn. While string plug kits offer a convenient way of fixing a tire leak on the go, they are not considered a permanent solution.
So, how do you properly patch an ATV tire? To do so, you need to dismount the tire and install the patch from the inside. Installing an internal patch plug can salvage a tire, but it’s not feasible to do this in the field or during a trail ride. You’ll need a handful of tools and about 30 minutes of your time.
Not all ATV tire leaks and punctures can be repaired with a patch. Please refer to this post to ensure patching is the best alternative to fix your leaking tire.
How to Patch an ATV Tire, Step-by-Step Guide
With this guide and a few budget-friendly tools, you can patch your ATV tire properly at home.
Things You’ll Need:
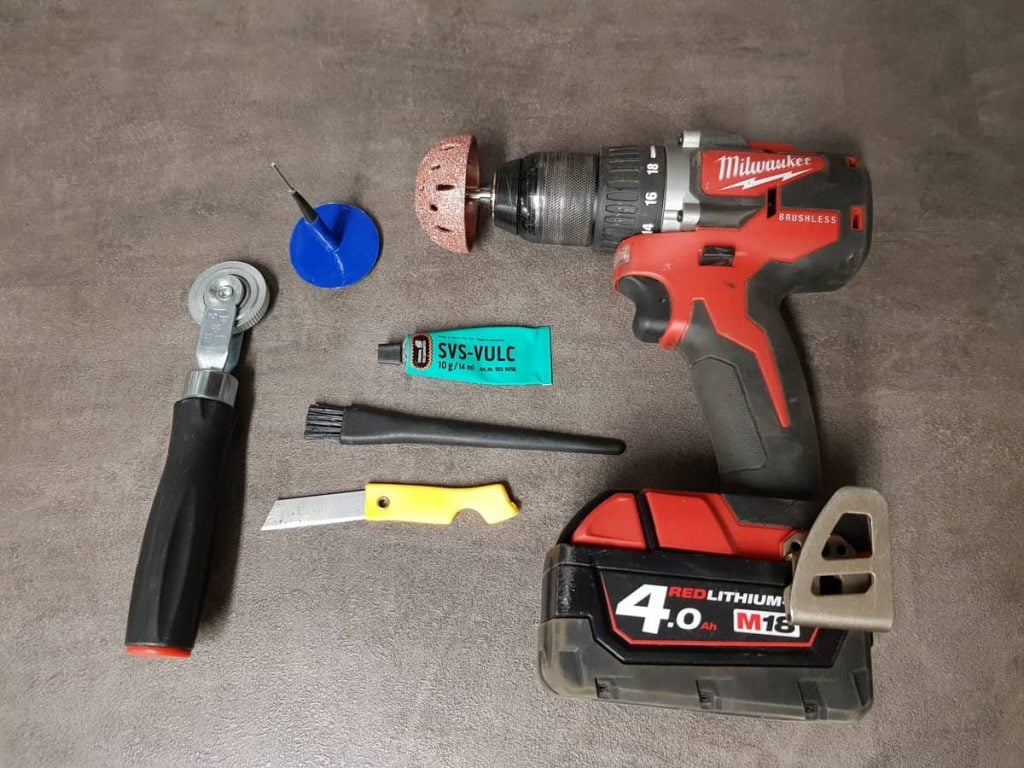
- A quality tire patch. Preferably use a radial tire patch as those work well on both radial and bias-ply tires. While an ordinary flat patch will work fine, look for a plug-style patch, as it seals better and protects the damaged area.
- Vulcanizing rubber cement (tire glue)
- A tire marker. Any marker that can be drawn on rubber will work.
- A floor jack
- A wrench and the correct size socket for the lug nuts
- A bead-breaking tool
- A couple of tire levers
- Some rubbing alcohol
- Tire-plug-rasp
- Tire patch roller
- A drill with a tire buffer. Alternatively, you can use the rubber file cap often included in tire patch kits.
- Soapy water
Step 1: Remove the Tire From the ATV
- Place the ATV on a flat, level surface, such as a garage floor or a paved driveway.
- Use a floor jack and place the lifting pad on a robust spot like the frame.
- Remove the wheel using a wrench and the proper socket size.
Step 2: Use Soapy Water to Locate the Leak
Spray some soapy water to identify the leak accurately. You will notice tiny air bubbles appearing where the leak is located. Use a marker to mark the leak for future reference.
Step 3: Prepare and Widen the Hole
When installing a patch plug, you must prepare the hole so the plug part fits and seats properly.
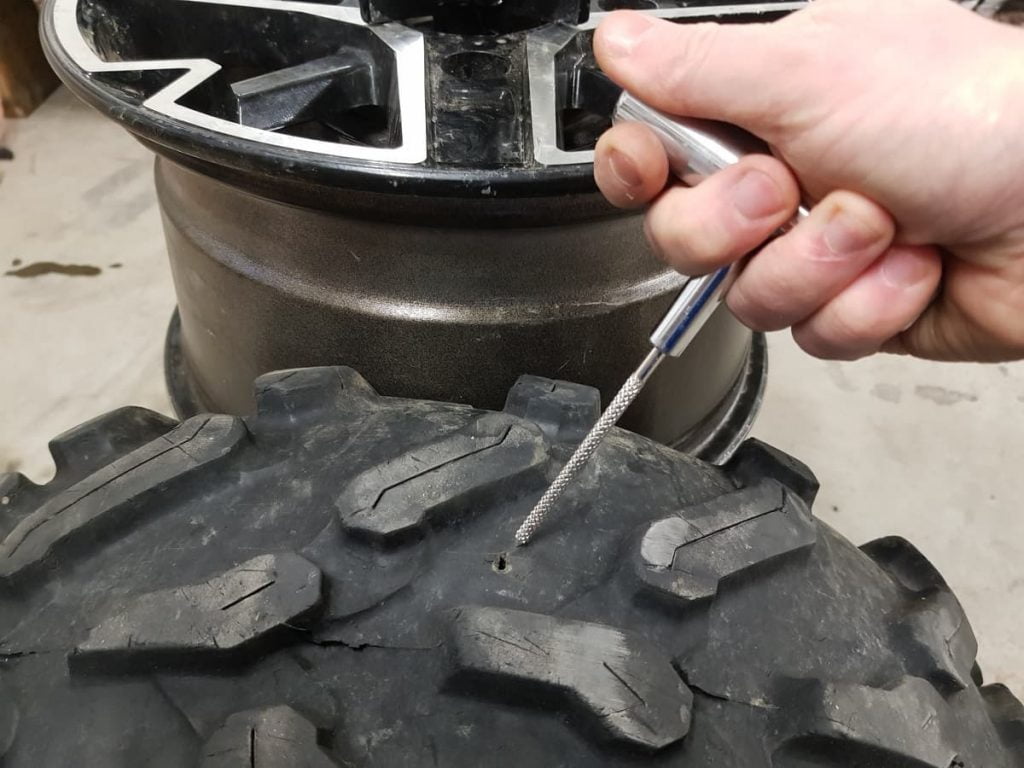
To do so, you’ll need a spear-shaped rasp, like the one that comes with string plug kits, or a drill-bit rasp to use with a drill.
Insert the drill bit fully and then pull it out while the drill is running. Repeat this action once. Or, if using a manual rasp, move it in and out of the hole several times until the hole becomes perfectly circular.
Step 4: Deflate the Tire
To access the inside of the tire, you’ll need to remove it from the rim. To do so, you first need to deflate the tire completely.
Your best option is to use a valve stem core removal tool to remove the valve stem core from the tire valve. This method will deflate the tire in seconds. Valve stem core removal tools come in various shapes, and you can pick one up for cheap at most auto supply stores or on Amazon for a few dollars.
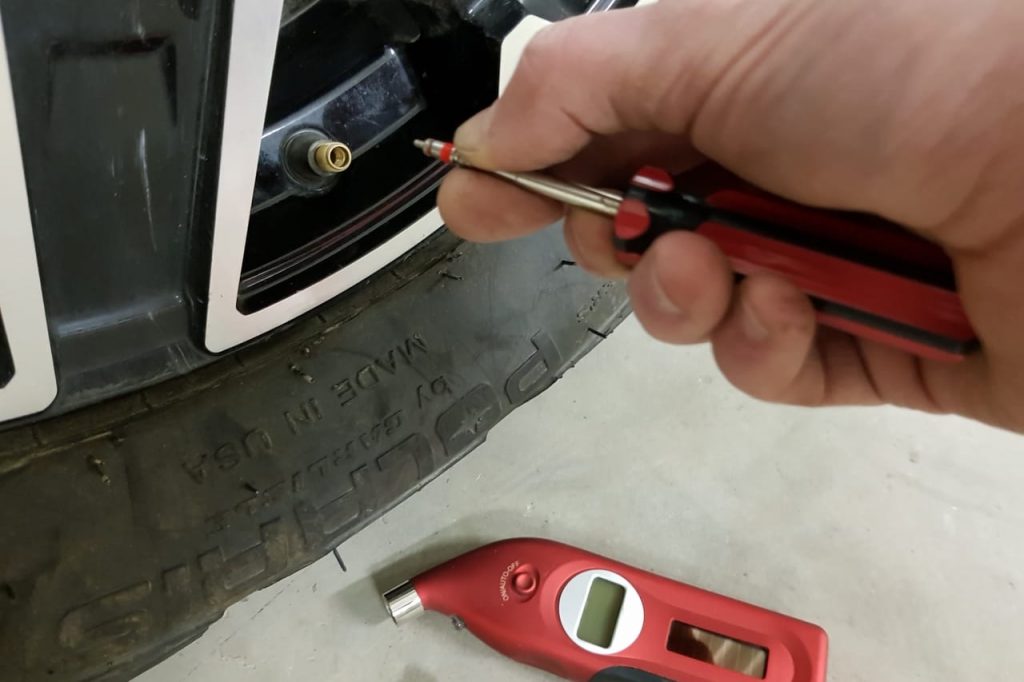
If you don’t have such a tool but have a pair of needle-nose pliers that will fit inside the tire valve, you can use it to unscrew the valve.
As a last resort, you can use a small object to depress the needle in the valve stem core manually. While this will take some time, it will do the job when in a pinch.
Step 5: Break the Bead off the Rim
This step is typically the one that concerns most people. While it does require some knowledge and caution, it’s well within what most home mechanics can achieve.
I prefer using my portable tire changer as it’s an affordable yet effective way of breaking almost any tire bead at home.
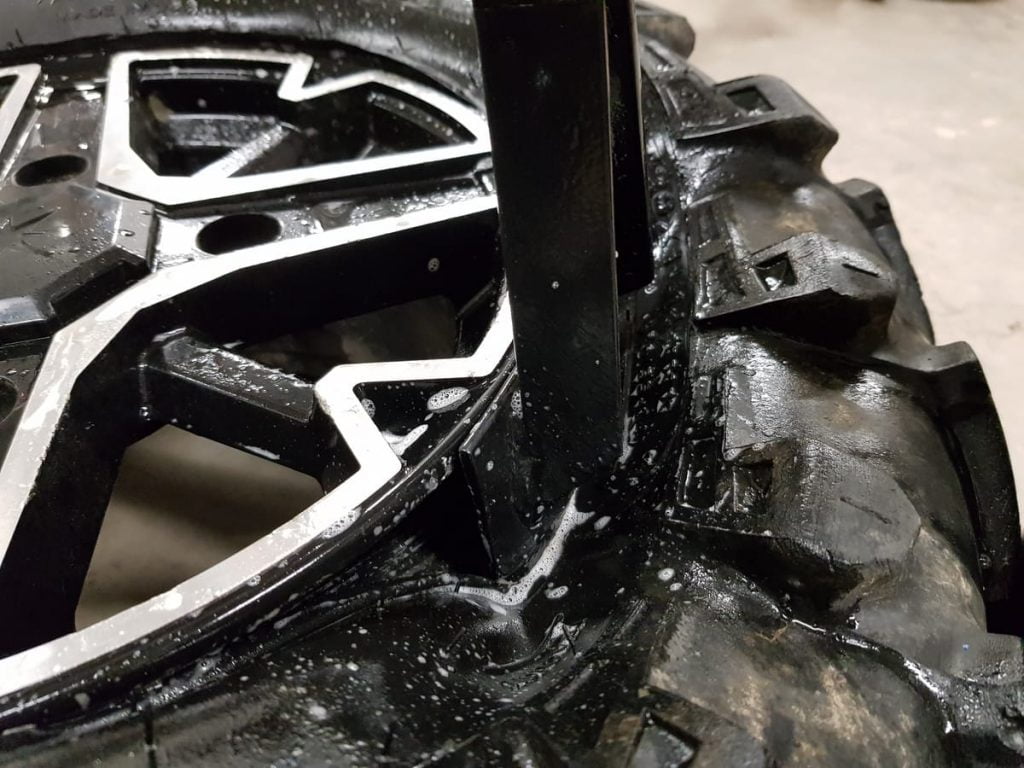
Position the tire so the tool sits on the tire edge, as close to the rim as possible. Apply some soapy water, as this will help the tire to slide over the bead of the rim.
Press the handle until the tire slides over the tire bead. You may need to reposition the tool several times to break the bead completely.
Stop and reposition the tool if the tool slides down the tire’s sidewall. Pushing the tool too hard into the sidewall can cause damage as it’s the weakest part of the tire.
If you don’t want to spend money on a bead-breaking tool, consider making a simple DIY tool like the one I once made before purchasing a dedicated tool. It only costs a couple of dollars in materials and a few minutes of your time.

Here are a few alternative methods of breaking the tire bead for home mechanics.
Step 6: Remove the Tire From the Rim
Use your tire-changing tool or a couple of tire irons to remove the tire from the rim.
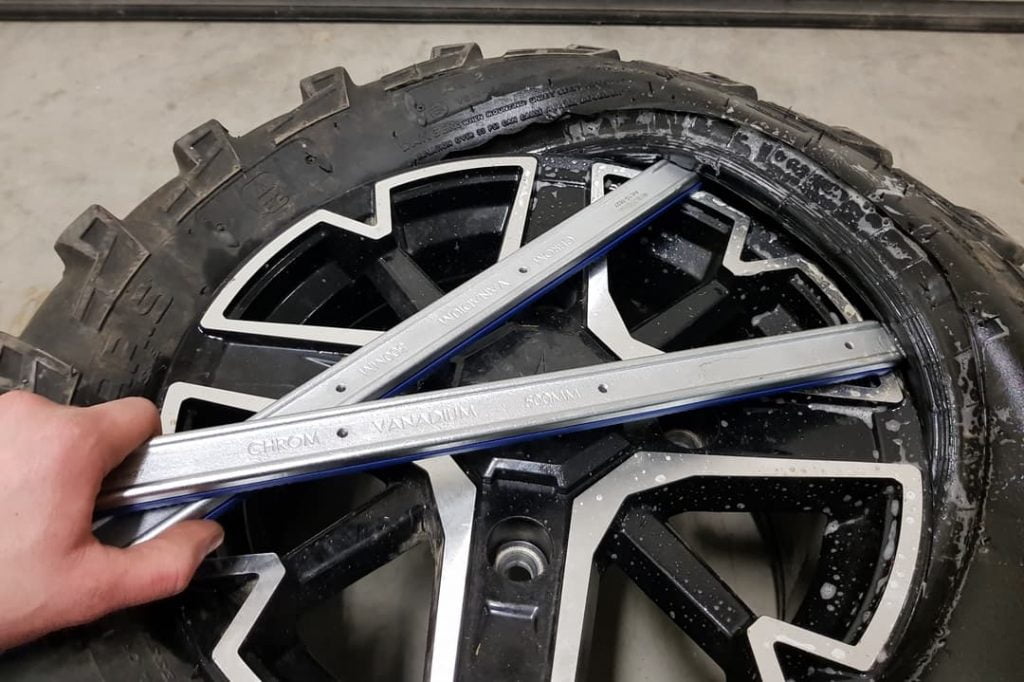
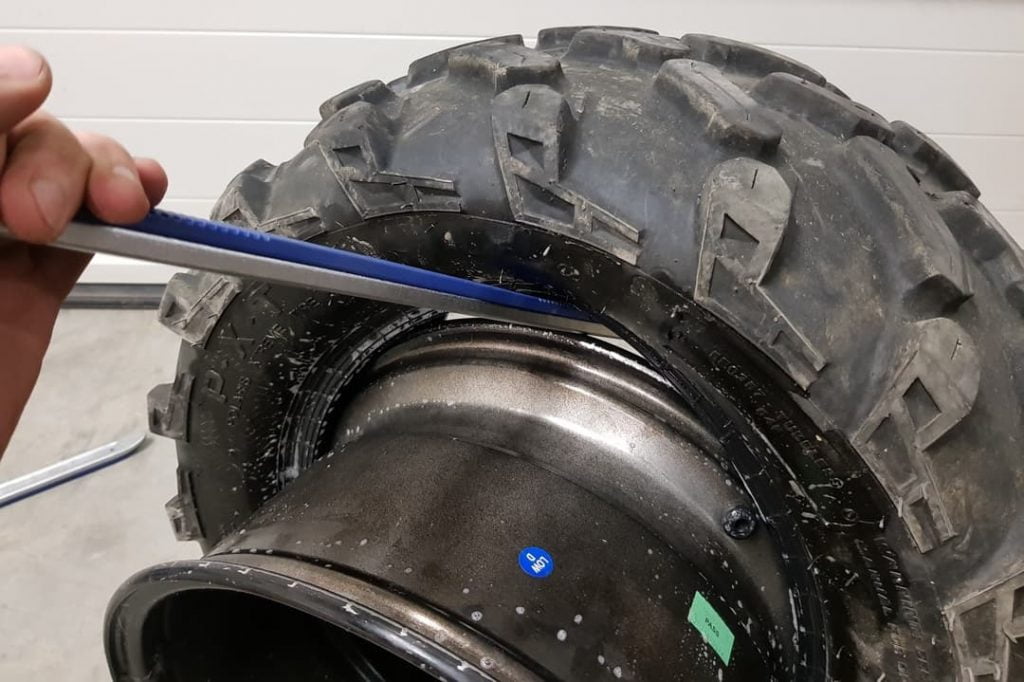
Step 7: Remove the Defending Object From the Tire
Dry up any remaining soapy water from the inside of the tire using a rag. Use your marker to mark around the puncture before removing the protruding object to keep track of your leak. Use some pliers to remove the object causing the leak from the tire.
Step 8: Optional: Clean With Pre-Buff-Cleaner
While most instructions say you should clean the area around the leak with a pre-buff-cleaner product, it’s not mandatory. I’ve never had any issues skipping this step as long as I clean properly after buffing the rubber.
Step 9: Buff up the Rubber
Use a drill with a tire buffer to buff up the rubber where you will be installing the patch. This step will smooth out the texture inside the tire and ensure proper adhesion between the patch and the tire.
Go over a few passes in each direction until you get an even, coarse surface. Do not go too deep, as you may damage the tire cords. Make sure the buffed area is slightly larger than the patch.
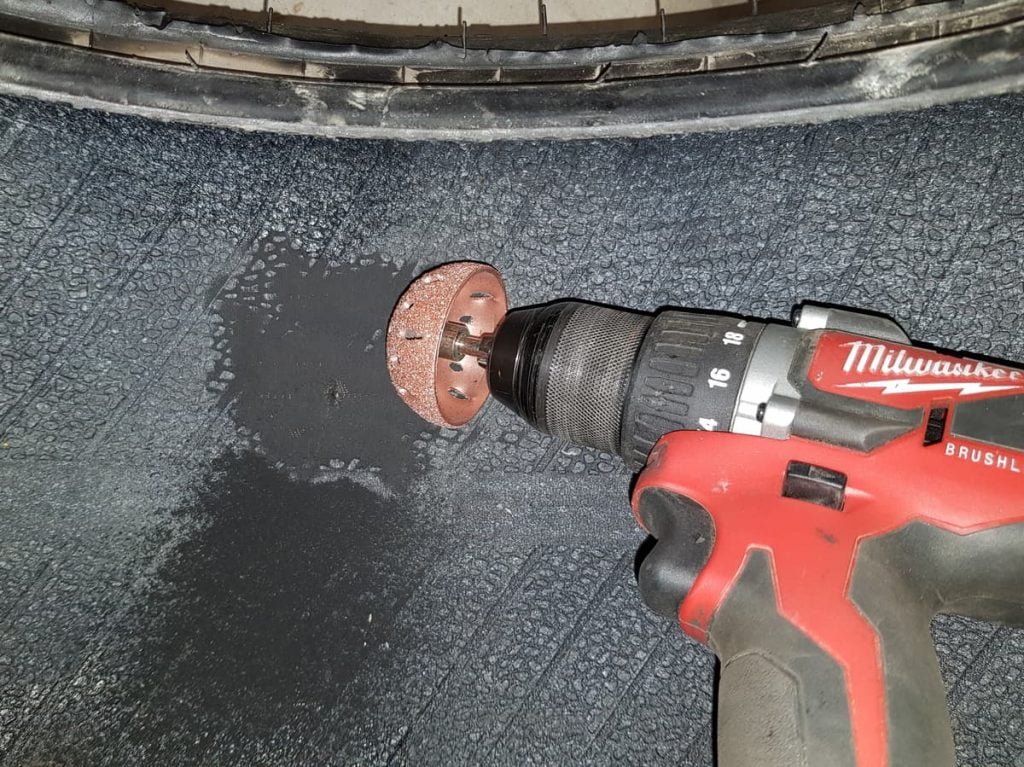
If you don’t have a tire buffer tool, you can use a rubber file to do the job manually. While this method takes more time and elbow grease, the result should be just as good.
Step 10: Clean the Prepared Area
Grease or rubber shavings will reduce the effectiveness of the glue.
- First, use a vacuum to remove the rubber shavings from the buffing process.
- Next, use a rag and some rubbing alcohol to clean the prepared area thoroughly.
Step 11: Apply Vulcanizing Rubber Cement
Apply tire glue (rubber cement) on the prepared area. Apply enough to cover the entire buffed area, and ensure some cement gets into the hole. About 4-5 pea-sized beads should do. Use a small brush to spread out the glue evenly. Allow the glue to air dry.

Step 12: Install the Patch
Carefully remove the patch’s plastic backing, ensuring you don’t contaminate it with oil from your fingers.
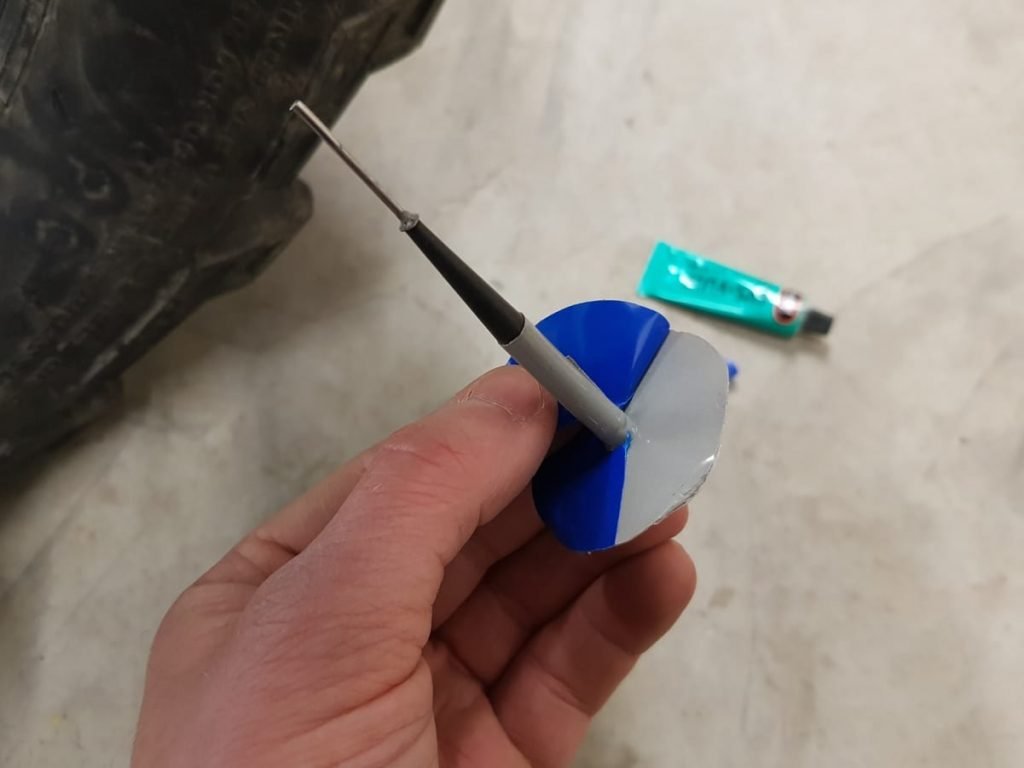
You can apply some rubber cement to the probe as a lubricant, but it is not necessary if the hole is prepared correctly. Insert the probe through the hole until it appears on the outside of the tire.
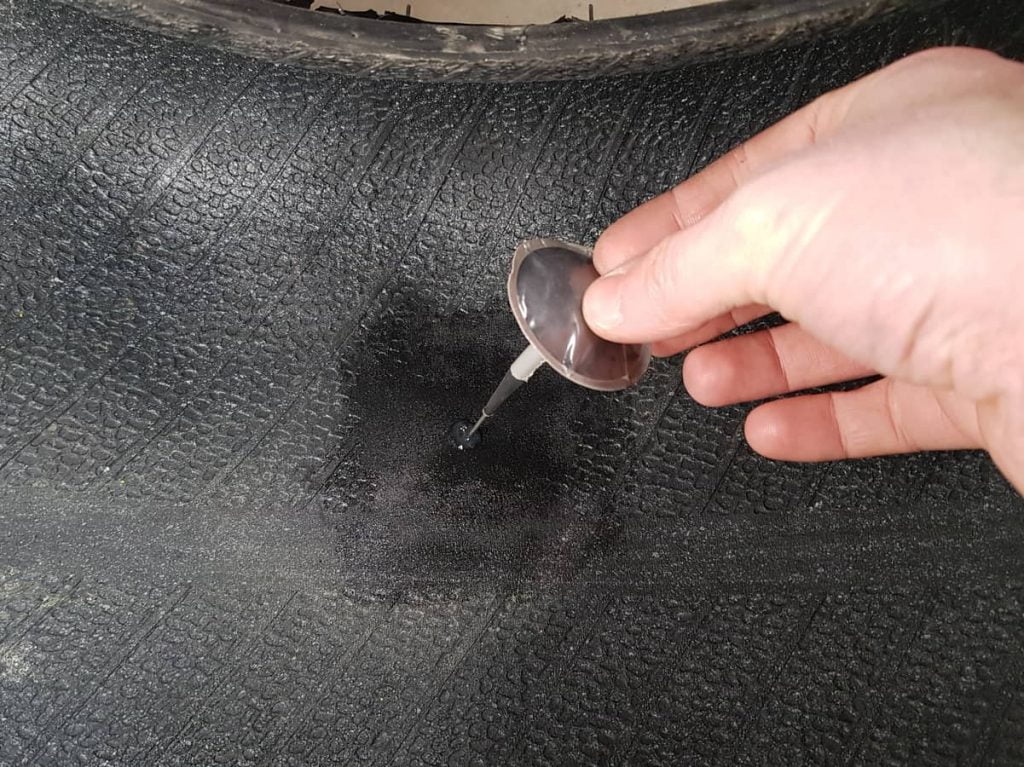
Gently pull on the metal probe with some pliers. Do not pull too hard, or the probe will come apart from the plug. As soon as the rubber plug starts coming through, shift your grip and pull on the rubber instead of the probe. Keep pulling until the plug bottoms out.

Run your tire patch roller over the patch flush several times in a criss-cross pattern. Make sure the edge of the patch seals properly to the tire. When you are done, the plastic coating should peel off relatively quickly.

Add some rubber cement to seal the patch’s edges as a finishing touch.

Step 13: Cut Off Excess Rubber
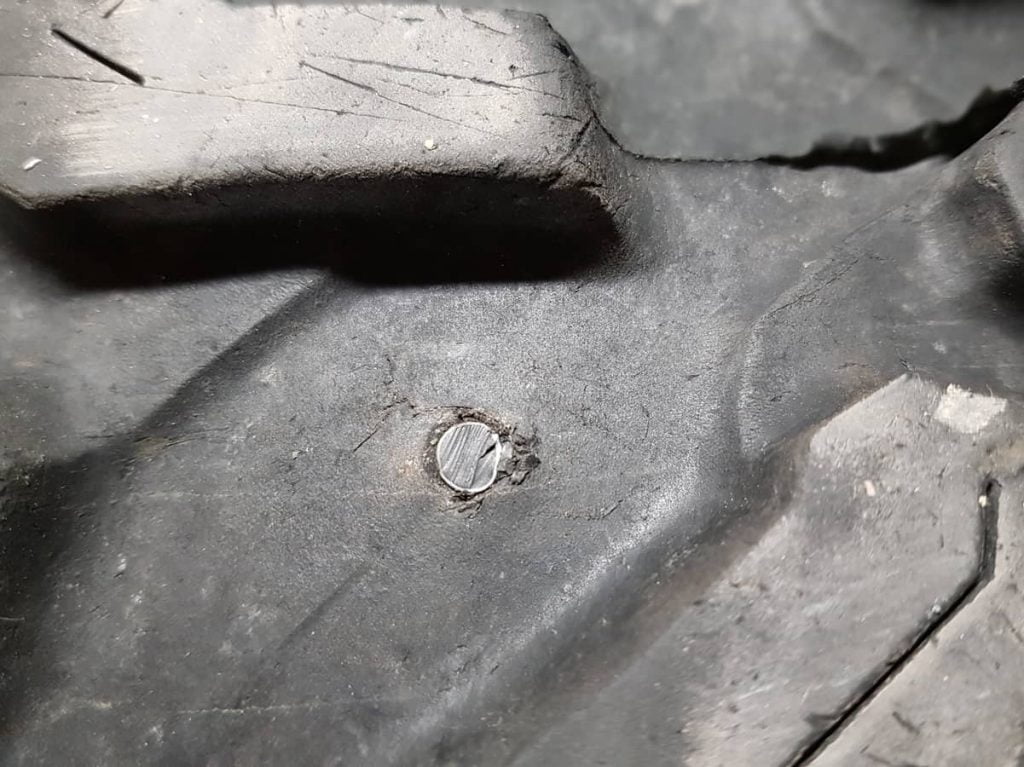
Cut off the protruding rubber stem flush with the tire using a sharp knife or razor blade. Do not pull up on the plug; just cut it as it is.
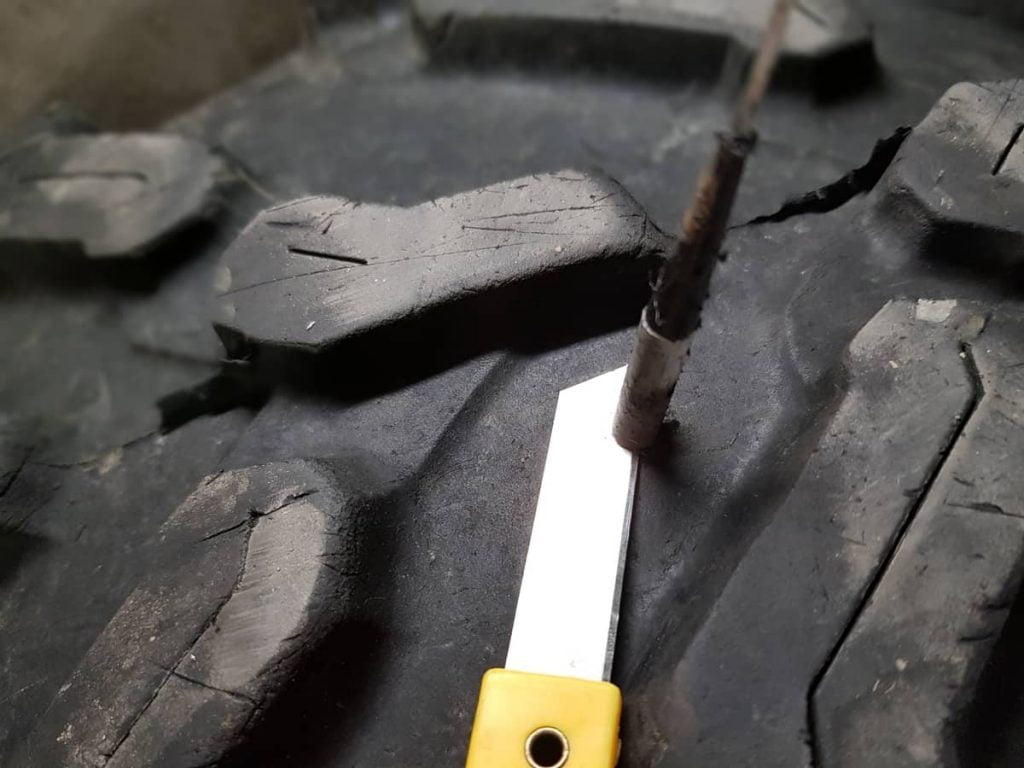
The tire is now correctly patched!
Step 14: Reinstall the Tire to the Rim
If you don’t know how to install the tire back onto the rim, please refer to steps 5 -11 in this post, where I go into more detail on how to change ATV tires at home.
Wrapping Up
While this process may seem intimidating initially, you’ll learn it’s not that bad after doing it a few times. It does require an initial investment of a few tools, but knowing how to patch your ATV properly- and Powersports tire at home will likely save you both time and money in the long run. Good luck, and be safe!
